
Match a jigsaw blade to curves, thickness and surface requirements · Diagram
Three stationary blade profiles contrast shank shape, blade width and usable length with separate measurement arrows.
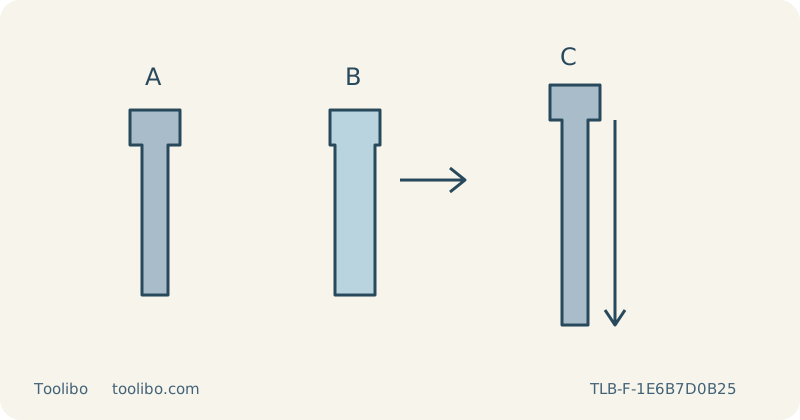
A
Match the exact clamp
B
Match width to the route
C
Check the full working stroke
Check shank compatibility, working length and turning width, then verify the required surface finish on matching scrap.
Treat blade choice as several separate decisions
A packet labelled for wood does not answer every question about a jigsaw blade. First match the shank to the exact clamp, then match the blade’s working length, width and intended material range to the cut. Finally consider the finish required on the visible face. A blade that fits mechanically may still be unsuitable for a tight curve, a thick board or a clean exposed edge.
This guide concerns loose, identified, uncoated household wood. It does not recommend a blade for hidden nails, unknown composite materials or mixed-material demolition. Inspect the blank and choose a different process if foreign objects or uncertain coatings cannot be excluded. The machine’s maximum listed capacity is a limit under specified conditions, not a promise that every wood blade can make a square finished joint at that thickness.
Confirm the shank before buying an assortment
The Bosch GST 18V-125 B and S require T-shank blades. The checked SKIL JS313101 and JS314901 instructions allow the specified common T-shank and U-shank types. That difference matters when sharing blades across a household kit. Do not assume that a blade fitting one saw is approved for another, and do not grind a shank or force a clamp to accept a near match.
Check the exact blade packaging and manufacturer application information rather than choosing from colour alone. Keep its identity with the tool so a successful sample can be repeated. A loose unmarked blade may be difficult to distinguish from a similar-looking accessory intended for another material. If compatibility cannot be established, obtain a clearly identified correct blade instead of using the tool as a fit-testing device under power.
Match working length and turning space
The blade must remain long enough to pass through the actual material assembly throughout its stroke. Include any permitted backing board in that thickness. At the same time, excess unsupported length is not automatically helpful. Check both the accessory’s application range and the clearance below the work; a longer blade can reach a bench support that a shorter one did not reach.
Width affects the route the blade can follow. The Bosch instructions specify a narrow blade for tight curves, but this is not a numerical minimum-radius guarantee. Test the narrowest part of the intended curve in matching scrap. A broad straight-cut blade may resist that turn, while a narrow curve blade may not produce the required square face through thick wood. Choose according to the actual geometry rather than treating one profile as best for everything.
Verify material range and surface requirements
Use the blade maker’s stated material and thickness range to narrow the candidates before testing. A curve that is acceptable in thin plywood may not produce the required square face in a thicker board. Mark the visible face and grain direction on matching scrap, then judge surface breakout and cut-face perpendicularity separately. Leave finishing allowance where the part must fit another piece. This guide does not compare tooth spacing or prescribe reverse-tooth blades; those choices require the exact accessory’s application and handling instructions.
Before fitting the chosen blade, switch off and remove the battery or unplug the corded saw. Seat the correct shank fully, locate the blade back in the guide roller where required and verify retention. Secure the base and keep the guard intact. Do not straighten a bent blade or continue with missing teeth in order to use up an old packet.
Complete the choice under controlled conditions
Clamp matching scrap on a stable bench, support the waste independently and leave the entire blade stroke clear underneath. Route the hose or cable away from the cut. Wear eye and hearing protection and suitable respiratory protection, with compatible dust extraction and ventilation. Support the base, start with the blade clear of the material and establish an appropriate speed before feeding. Keep the base flat without forcing the blade sideways.
Stop if the saw labours, the base lifts or the wood burns. Wait for the blade to stop fully before withdrawing, setting down or inspecting, and isolate power before changing the setup. Compare the sample against the actual requirement, not against a vague expectation of a clean cut. Record the successful blade, face orientation and material thickness. Retest when one changes, and choose another cutting method if a suitable blade still cannot produce the fit safely and consistently.
Models referenced