
Separate blade wear, feed and binding when a wood edge burns · Diagram
A curved cutting route has a dark patch at its tight turn; a separate straight sample shows a clean comparison edge.
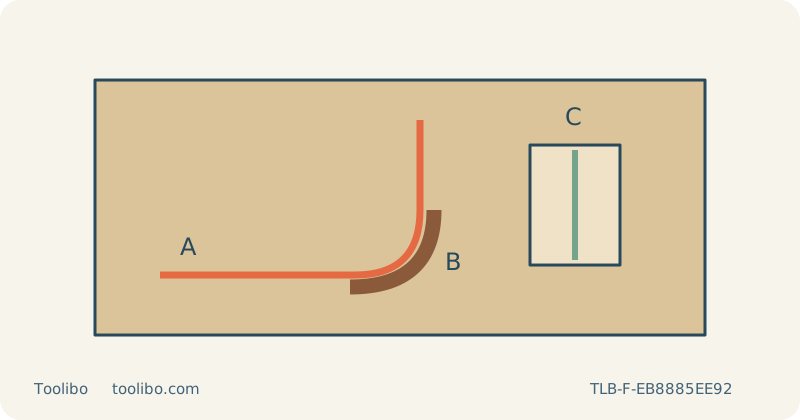
A
Note where burning began
B
Review rubbing and binding
C
Change one factor on scrap
Stop a scorching cut, inspect the external setup and establish a clean sample before continuing.
Stop before trying to outrun the scorch
A darkened edge and hot smell are reasons to pause, not to force the saw through the remaining distance. Switch off and wait for the blade to stop fully before withdrawing it or setting the saw down. Disconnect power and let the blade cool. If there is smoke or evidence of combustion, stop work and address the fire risk safely; do not continue testing settings beside hot dust or combustible waste.
This guide concerns external cutting conditions in loose, identified, uncoated wood. It does not apply to unknown finishes, treated material of uncertain composition or a saw with an electrical burning smell. A smell from the motor housing, damaged cable or battery requires taking the tool out of use and following its service instructions, not diagnosing the problem as a wood blade issue.
Examine what the blade was cutting
Look at the affected edge and the route. A dark patch at a tight turn can indicate rubbing where the blade was being steered too sharply; continuous scorching can have several causes, including a worn blade or a feed and speed combination poorly suited to the material. These are possibilities to test, not a visual diagnosis that proves a single cause. Note where the mark begins and whether the saw had started to labour there.
Inspect the wood for foreign objects and compare its actual thickness with the blade application. Check whether resin or debris is coating the teeth. Replace a dull, damaged or inappropriate blade with a suitable one rather than increasing pressure. Do not improvise chemical cleaning or heat treatment. If cleaning is permitted for the accessory, follow its maker’s instructions separately with the blade removed and the tool fully isolated.
Eliminate binding before changing speed
Check that the retained work is clamped on a stable bench and the waste is supported independently at the correct height. A heavy offcut hanging from the remaining fibres can twist into the kerf. An upward-pushing support can close the cut just as effectively. Arrange support so that the kerf remains open naturally, without someone pulling the pieces apart next to a moving blade.
Trace the complete route beneath the board and leave clearance for the blade throughout its stroke. Check that the base can travel without catching a clamp and that a hose or cable cannot pull the tool sideways. For a curve, confirm that the radius is realistic for the selected blade. A narrow kerf is not a track in which to force the saw around a corner by twisting its body.
Make one controlled sample
With power isolated, seat the correct blade fully in its clamp, place its back in the guide roller where required and verify secure retention. Secure the base at zero bevel for the diagnostic sample. Use a scrap of matching wood and thickness, not a softer or thinner substitute that makes the result look better. Mark the intended route and the reference face so that the new edge can be compared fairly with the old one.
Wear eye and hearing protection and suitable respiratory protection. Use compatible dust extraction and ventilation, and clear accumulated dust before testing. Select a speed appropriate to the blade and material. Support the base, keep the blade clear, start and establish speed before feeding. Let the teeth cut without excessive force, but avoid dwelling unnecessarily at one point. Neither the highest nor the lowest speed is automatically the cure for burning.
Read the result and choose the next step
Switch off and wait for a complete stop before removing the tool or inspecting the sample; isolate power before changes. Compare surface colour, cut-face squareness and the effort needed to advance. If a fresh suitable blade solves the problem with the same support and feed, record that observation without claiming it proves every previous mark had the same cause. If rubbing remains concentrated at a curve, try a broader route on scrap or select a blade intended for that geometry.
Stop repeated tests if the tool continues labouring, abnormal heat develops or the clamp and base will not stay secure. Arrange service where needed. Once a clean sample is established, assess whether the original piece still has enough allowance to finish without losing its intended size. Hand-sanding a light surface mark may be reasonable on a decorative edge, but it does not repair charred material or justify continuing an unsuitable cutting process.
Models referenced