
Stop repeated blade breakage with an external setup review · Diagram
Three inspection examples show separated blade fragments, a support too close below the blade, and a blade bent sideways.
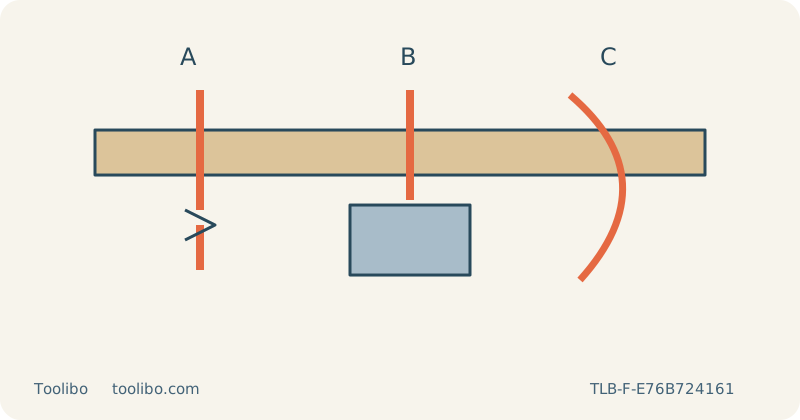
A
Account for sharp fragments
B
Remove under-blade obstructions
C
Never straighten a damaged blade
Inspect blade fit, under-work clearance and twisting forces before replacing a broken blade.
Treat breakage as a stop signal
If a jigsaw blade breaks, release the control, switch off and wait for all movement to finish. Remove the battery or unplug the cord before approaching the blade or work. Do not continue with the remaining blade length or fit another blade and immediately repeat the same cut. First account for the broken pieces without reaching into an energized mechanism or sweeping sharp fragments away with bare fingers.
This external review applies to loose, identified, uncoated wood. It does not authorize opening a clamp, removing internal guides or extracting a trapped fragment with improvised tools. If part of the blade remains in the holder and the normal manufacturer release procedure cannot remove it safely, stop and obtain service. A broken accessory is replaceable; a damaged retention mechanism must not be hidden by installing a new one.
Reconstruct the moment of failure
Note where the blade broke and what was happening: entering the cut, making a tight turn, exiting the board or contacting something underneath. These observations can direct inspection, but the fracture alone does not prove a specific cause. Check the work for hidden nails or screws and look for fresh marks on a support or clamp that the blade may have struck.
Inspect the complete route below the board, not merely the starting point. The blade travels through a full stroke and may extend below the visible work farther than expected. A moving waste section can also change that space near the end. If a support lies in the swept path, rebuild the workholding arrangement before any new trial. Do not shorten the blade by breaking it or intentionally bury its tip in a sacrificial support.
Verify the replacement’s application and fit
Choose an intact blade intended for the wood, thickness and route. It must be long enough throughout its stroke, including any permitted backing layer, and have a suitable profile for the turn. A broad blade forced around a tight corner or a blade too short for the assembly is not made suitable by a stronger motor. Do not reuse a blade that has been bent, straightened or left with missing teeth.
With power still isolated, seat the correct shank fully in the specified clamp and check retention. Locate the back in the guide roller where the tool requires it. Inspect accessible guide and guard components for visible damage without dismantling them. If a roller is displaced, a guard is damaged or the clamp no longer behaves normally, arrange service instead of using the new blade as a mechanical test.
Remove forces that trap or twist the blade
Clamp the retained wood on a stable bench and support the waste independently so it cannot fall or pinch the kerf. Keep supports clear of the full blade stroke and all clamps clear of the base route. Check that a cord or extraction hose will not tug the saw sideways. For a curved cut, test the tightest radius on matching scrap and allow a broader route if necessary.
Wear eye and hearing protection and suitable respiratory protection, with compatible dust extraction and ventilation. Secure the base at zero bevel for a simple diagnostic cut. Support the base, start with the blade clear and establish speed before feeding. Let the blade cut at a manageable rate without forcing it forward or twisting it to recover a missed line. If the saw binds or loses flat base contact, stop immediately.
Require an acceptable sample before continuing
Wait for the blade to stop fully before withdrawing it, setting down or examining the result, and isolate power before adjustments. Check the new sample’s cut face and the blade’s condition. A completed cut does not prove the setup was sound if the blade is now bent or the edge slopes badly. Resolve those symptoms rather than counting the absence of another fracture as success.
If breakage repeats despite a correct intact blade, secure installation, clear support and controlled feed, take the saw out of use and obtain qualified service advice. Record the blade identity, material thickness and stage of the cut to help describe the problem. Do not seek a tougher blade merely to overcome a mechanical fault, and do not return to the finished project until the underlying external setup or service issue has been addressed.
Models referenced