
Repeated readings and independent comparison
Original schematic: Matching repeated readings show consistency. An independent reference tests a different question. After impact follow the manufacturer’s check or service route. Not to scale.
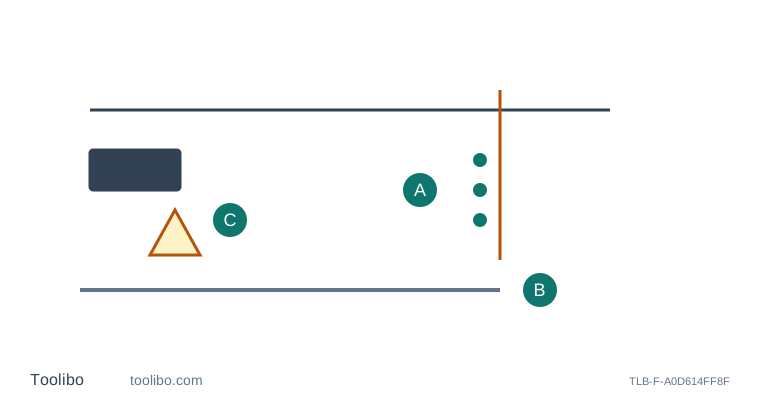
A
Matching repeated readings show consistency
B
An independent reference tests a different question
C
After impact follow the manufacturer’s check or service route
Conceptual geometry only, not to scale. The diagram does not establish installation clearances or reproduce a manufacturer control layout.
Stop important measurements before testing your expectations
A dropped meter may still turn on and display a distance. That does not establish that its housing, optics or reference arrangement remain suitable for important work. Stop using it for fabrication dimensions or safety-critical clearance decisions until it has been checked as the manufacturer requires. Do not assume that a protective case or an apparently small fall proves there was no effect.
Inspect the exterior without opening the instrument. Note visible damage, a loose component, a changed endpiece or a reference edge that no longer sits normally. Record the model and what happened in plain language, including which edge or folding part struck the surface. Do not shake the meter, repeat the impact or flex the housing to see whether a fault can be reproduced. Such experiments can add damage and do not provide a meaningful accuracy assessment.
Understand what repeated readings can and cannot show
Repeatability describes how closely results agree under a repeated setup. Accuracy concerns their relationship to the actual quantity being measured under the relevant conditions. A hypothetical instrument that repeatedly shows 3.000 m for a span independently established as 3.015 m illustrates the distinction: the readings agree with each other but differ from the reference. These numbers are an explanatory example, not a test of any listed model or a permissible tolerance.
The independent comparison also needs scrutiny. A sagging tape, different endpoints or a diagonal path can create an apparent disagreement. Therefore, do not diagnose a constant instrument bias merely because two methods differ once. Use the manufacturer’s specified accuracy-check procedure, including its required setup and interpretation, rather than choosing your own pass threshold from the number of digits on the screen.
Keep an external check within the matched instructions
If the manufacturer’s normal checking procedure can be performed safely, follow it with the intended reference, suitable target and stable support. Preserve the actual readings rather than selecting only the ones closest to expectation. For each check, record the date, span endpoints and selected reference beside the results. Keep tests using different starting edges in separate entries so a changed setup cannot masquerade as a change in accuracy. If an endpiece or reference edge is visibly damaged, do not use a guessed offset to compensate for it. The physical starting point is part of the measuring system.
Do not open the case, adjust optical parts, loosen screws or attempt an internal calibration based on an online tip. A household comparison is not an authorised repair procedure. If the specified check fails, cannot be carried out reliably or leaves an unexplained discrepancy, seek the manufacturer’s service advice. Provide the short incident record and the checks completed so the service discussion starts from observed facts rather than speculation.
Review the project record after the instrument is checked
Identify which measurements were taken before and after the impact. If the timing is uncertain, do not assume that all the convenient values came from the undamaged period. Retake critical dimensions with a checked instrument or another appropriate method before issuing cutting or purchase instructions. A repaired or replacement meter does not automatically validate the old notebook.
For a low-stakes furniture layout, you may be able to complete the planning with a suitable tape while the meter is out of service. Keep the method and endpoints clear, and follow any supplier-specific final measurement requirements. Do not turn a temporary workaround into a claim that the damaged instrument is accurate. Its status and the project’s dimensions are separate questions.
Store the meter according to its instructions once the issue is resolved, and protect the reference edges and folding parts from avoidable impacts. Never aim a laser at eyes, people or optical instruments during checks, and do not use magnifying optics to inspect an active beam. The practical outcome should be either a documented satisfactory check under the maker’s procedure or a clear decision to obtain service. A screen full of identical numbers, by itself, is neither.
Models referenced