
Handle a blade that will not release without prying or jogging · Diagram
A stationary blade sits in a clamp with an external release lever; a separate crossed circle marks the stop boundary.
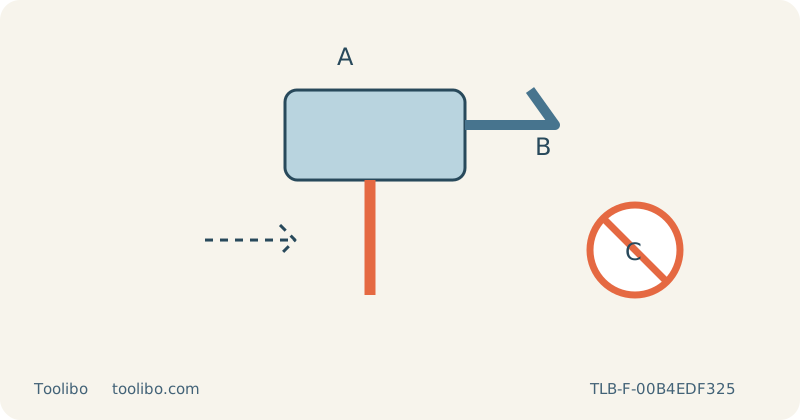
A
Isolate power and let the blade cool
B
Use only the normal release action
C
Stop if normal removal fails
Use only the prescribed isolated release procedure and recognize when the clamp needs service.
Stop before adding force
A blade that refuses to release should remain a stopped, isolated problem. Switch off, wait for all motion to finish, then remove the battery or unplug the saw. Let the blade cool before approaching it. Never use a brief powered stroke to shake it loose, pull it while the motor runs or hold a release control while energizing the tool. Those actions turn a maintenance problem into an uncontrolled moving-blade hazard.
First identify the exact saw and release mechanism. A lever that opens one manufacturer’s clamp may not have the same direction or sequence on another model. Keep the tool in a stable position and keep the blade pointed away from people. Do not clamp the tool in an improvised mount or grip the teeth with pliers to gain leverage.
Distinguish ordinary removal from a damaged assembly
Read the model’s removal instructions and compare them with the visible mechanism. For the Makita XVJ03, the blade opener has a defined movement and return position. For the XVJ04, the clamp lever and automatic locking arrangement use a different sequence. Neither procedure should be replaced by forcing an incompletely seated mechanism into position. A stuck blade following incomplete insertion is not evidence that additional force is acceptable.
Look externally for a bent blade, packed debris or a visibly displaced part. Do not reach past the guard or insert a screwdriver into the clamp. If the blade has broken and only a fragment remains, avoid probing into the receptacle. The fragment can be sharp and its position difficult to judge. If the manual does not provide a user procedure for this condition, the next step is authorized service.
Try only the prescribed release action
With power still completely isolated and the blade cool, perform the normal release action once carefully, using the grip and direction described by the manufacturer. Keep fingers away from the teeth and allow for a blade that may drop or eject when the clamp opens. Use the handling protection recommended for a sharp stationary blade, without treating gloves as protection around a running mechanism.
If the normal control does not move as intended or the blade remains trapped, stop that attempt. Repeatedly wrenching the lever can damage a component that might otherwise be serviceable. Do not apply heat, impact, penetrating oil or an improvised solvent unless the exact manufacturer procedure explicitly calls for it. This guide does not authorize disassembly of the clamp, roller or drive assembly.
Keep the tool out of use if retention is uncertain
If removal succeeds, inspect the accessible clamp area and the removed blade without dismantling the tool. Follow the manual for external cleaning only. Fit a correct replacement blade fully, locate its back in the guide roller where required and verify retention with power disconnected. On the XVJ04, an incompletely seated blade must not be secured by manually forcing the clamp lever closed.
A blade that comes free is not proof that the clamp is safe for another cut. If the release action remains abnormal, the lever fails to return as specified or a correctly fitted blade is not securely retained, do not reconnect power. Arrange service and explain what happened before the blade became stuck. Keep the tool separated from ready-to-use equipment so that another person does not assume it has been repaired.
Return to cutting only after a sound setup
If normal operation has been restored without abnormal force or unresolved damage, prepare a controlled sample before returning to the finished work. Secure the base, clamp known uncoated wood on a stable bench and support the waste independently. Leave the full blade stroke clear underneath. Keep the extraction hose or cord outside the route and use eye, hearing and suitable respiratory protection with compatible extraction and ventilation.
Start with the base supported and the blade clear, establish the selected speed and make a short, straightforward cut. Stop immediately if retention, guidance or sound seems abnormal. Wait for the blade to stop fully before withdrawing it or setting the saw down, and isolate power before inspection. Do not describe a successful short trial as a repair to a damaged clamp; any unresolved mechanical fault still requires professional attention.
Models referenced