
Makita XVJ04: distinguish soft no-load behaviour from faults · Diagram
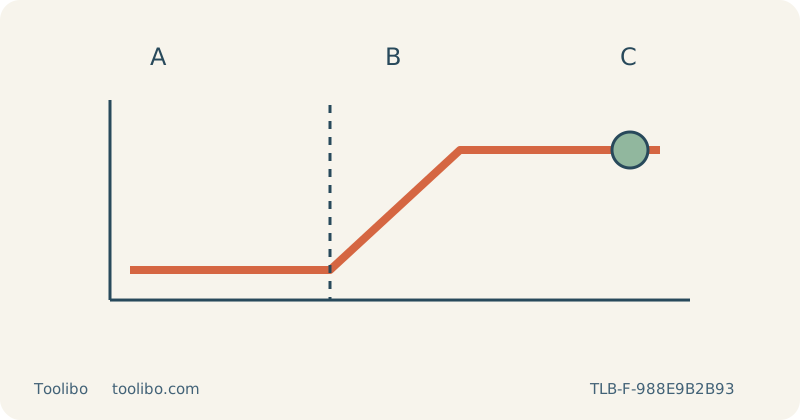
A schematic speed line rises after a dashed material-contact boundary; it has no numeric scale.
A
Identify the enabled mode
B
Expect the documented transition
C
Inspect abnormal behaviour
A schematic speed line rises after a dashed material-contact boundary; it has no numeric scale.
Distinguish starting smoothly from running slowly without load
The US Makita XVJ04Z listing refers to the XVJ04 machine in the instructions. Its soft-start function reduces the abruptness of starting, while soft no-load rotation reduces speed before the blade begins cutting in the specified mode. These are related electronic features, but they are not the same event. A slow unloaded blade can be normal; unexplained stopping, abnormal heat or insecure blade retention is not explained away by calling everything soft start.
The checked manual describes soft no-load operation when the speed dial is at 2 or higher. Once cutting begins, the speed rises toward the selected setting. The function may be unavailable at low temperatures. These facts explain why two starts can feel different without proving a fault. They do not guarantee a particular cutting speed, finish or runtime on the user’s wood.
Learn the standby and stopping sequence
With the battery removed, identify the lock/unlock button, switch trigger and lock-on button. In the documented routine, the lock/unlock button places the tool in standby, and pulling the trigger starts it. Releasing the trigger normally returns it to standby; the lock/unlock control then switches it off. Continuous operation uses the separate lock-on function, whose stopping sequence requires pulling the trigger fully and then releasing it.
Do not confuse a lit work area or a standby state with safe isolation. Remove the battery before changing the blade, base, accessories or workholding. For a first sample, avoid engaging lock-on so the normal trigger-release routine remains straightforward. If you cannot confidently identify the controls or they do not behave as the instructions describe, stop before attempting a cut.
Verify the automatic blade clamp
Use the specified compatible B-type blade and ensure the clamp lever is in the released position before insertion. With the battery removed and the blade cool, insert it fully with the teeth facing forward. The lever moves into the fixed position as the blade locks. Locate the back edge in the roller and check retention with a light pull as instructed. Do not manually force an incompletely seated clamp lever closed.
Inspect the blade for damage and choose a working length appropriate to the actual wood thickness. Secure the base at zero bevel for the first test. Clean accessible chips from the blade and holder by the permitted method, without inserting probes or opening the tool. If the correct blade cannot seat or remain retained, service is the next step, not a powered attempt to make the clamp settle.
Let a supported sample show the speed transition
Clamp known, uncoated scrap on a stable bench and support its waste independently so it cannot drop or close the kerf. Leave the full blade stroke clear beneath the board, and clear clamps from the complete base route. Route the extraction hose behind the saw without tension. Wear eye and hearing protection and appropriate respiratory protection, with compatible extraction and ventilation.
Choose an appropriate dial and orbital setting for the blade and material. Rest the base securely with the blade initially clear, start normally, then feed steadily into the sample. Expect the documented change from reduced unloaded speed when that mode is active, but do not push harder to trigger acceleration. Keep the base flat and allow the blade to cut. Stop if the tool struggles, the base lifts or the blade begins steering away.
Separate mode behaviour from a reason to stop using the saw
Wait for a complete blade stop before withdrawing it, setting down or inspecting the sample. Remove the battery before any correction. Compare the top line, lower edge and cut-face squareness rather than judging the feature solely by the sound of the motor. A repeat sample is useful when it changes one clear variable, such as a worn blade, while leaving support and material consistent.
If the tool repeatedly fails to stop promptly after trigger release, the manual directs service for the electric brake. A battery showing damage, swelling or leakage must be handled under its own safety guidance, not dismantled to investigate a shutdown. Do not repeatedly restart a tool with abnormal heat, smell or uncertain controls. The purpose of understanding soft no-load operation is to recognize normal behaviour accurately, not to dismiss a genuine mechanical or electrical warning.
Models referenced