
Makita XVJ03 or XVJ04: compare clamp and start routines · Diagram
Two clamp diagrams distinguish a manually operated opener from an automatic return sequence.
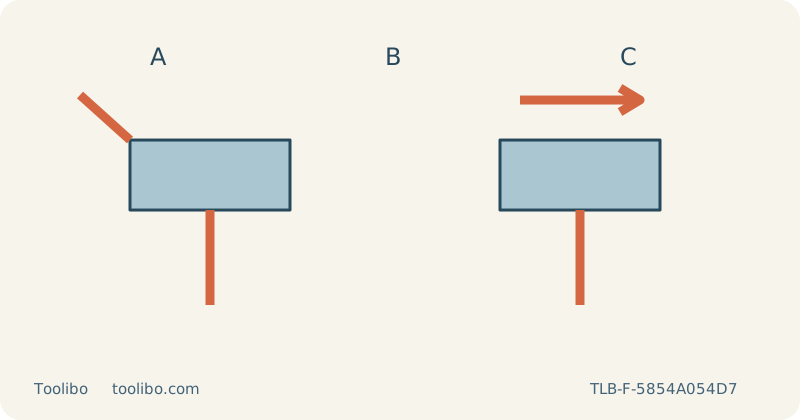
A
Use the XVJ03 opener sequence
B
Use the XVJ04 automatic clamp
C
Verify retention on each tool
Two clamp diagrams distinguish a manually operated opener from an automatic return sequence.
Keep the two US identities and their manuals separate
The Makita XVJ03Z and XVJ04Z US listings refer to XVJ03 and XVJ04 machines in their respective operating instructions. The checked XVJ03Z page is marked discontinued, while the XVJ04Z page describes the current listed features. This is not evidence about every retailer’s stock or future parts availability. Compare the nameplate and exact manual before transferring an operating sequence from one tool to the other.
For a household wood-cutting decision, the important differences here are blade-clamp behaviour and the electronic control routine. This article does not use untested runtime, speed or durability rankings. Both machines must first be capable of holding the correct blade, keeping a secure base and making a controlled sample in the actual material. An appealing feature list does not replace those requirements.
Compare blade installation while power is removed
Switch off and remove the battery before handling either blade or changing a base setting. Let a used blade cool. On the XVJ03, operate the tool opener through its prescribed movement, insert the blade completely until its two protrusions are no longer visible, keep the back located in the roller and return the opener. Then check that the clamp securely retains the blade as directed.
On the XVJ04, the released clamp lever moves into its fixed position when the compatible B-type blade is properly inserted. Keep the teeth facing forward and the back in the roller, then check retention with the prescribed light pull. Do not manually force the lever closed after an incomplete insertion. These are different installation sequences: treat an abnormal lever response as a reason to stop, not as a small inconvenience cured by additional force.
Compare starting and stopping as an entire sequence
The XVJ03 has its documented lock-off and trigger arrangement. The XVJ04 uses a lock/unlock button to enter standby, then the trigger starts the tool; releasing the trigger returns it to standby in normal use. Its separate lock-on function has its own release sequence. Rehearse the relevant routine with the battery removed and keep lock-on unused for a first short comparison sample.
The XVJ04 also has soft no-load operation at the specified dial settings when enabled. It can run more slowly before engaging the work, then rise toward the selected speed. Low temperature can affect the feature’s availability. Do not mistake that behaviour for a promise of greater accuracy, and do not explain persistent stopping or abnormal heat as a normal electronic mode. The operating state and the blade’s actual motion must both be understood before the tool is put down.
Include surface protection in the trial
On the XVJ03, distinguish the protective cover plate from the anti-splintering device. The insert uses the documented forward-base arrangement and is not used for bevel cuts. The cover primarily protects the surface against base contact. For either machine, verify the exact accessory and permitted base configuration from its own manual rather than assuming that a similar-looking part from the other case is compatible.
Prepare equivalent known, uncoated wood samples on a stable bench. Clamp the retained material and support the waste independently, with full blade-stroke clearance underneath and a clear base route above. Secure zero bevel, select appropriate blades and use comparable surface requirements. Arrange the hose so it cannot tug a tool sideways, and wear eye, hearing and suitable respiratory protection with compatible dust control and ventilation.
Evaluate the cut and the handling separately
Start with the base supported and the blade clear of the work, establish the intended operating speed and feed without forcing the blade. On the XVJ04, allow the documented no-load transition rather than pushing harder to provoke it. Stop if either base lifts, blade binds or tool labours. Wait for complete blade cessation before withdrawing or setting down, and remove the battery before adjustments or inspection of the blade holder.
Compare the upper and lower edges, cut-face squareness, surface marks and ease of reaching the correct stop. A better-looking sample can result from blade choice or support rather than the model alone. Keep those variables identifiable. If a tool consistently fails to stop promptly or retain the blade securely, service takes priority over comparison. Choose the machine and procedure that meet the task without uncertainty, and record the exact blade and material used rather than declaring a universal winner.
Models referenced