
Read both cold failure faces cautiously
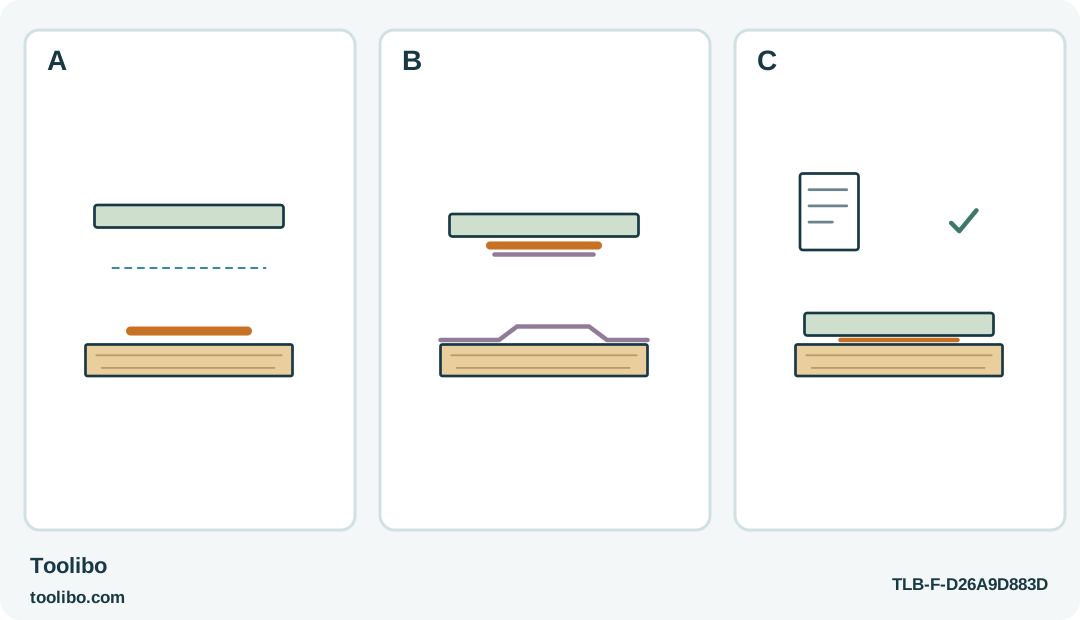
Separated faces with glue on one side, a coating carried away with the adhesive, and a documented prompt-contact sample show different failure evidence.
A
Adhesive on one face with little opposing contact can suggest late assembly, but appearance alone is not a certain diagnosis.
B
A lifted coating or debris attached to glue may identify failure in the surface layer; do not simply reglue that layer.
C
Test a sound, compatible prepared sample with prompt contact, then inspect cold. More adhesive does not establish wet-use or load suitability.
Where adhesive and coating remain after separation offers clues, not a certain diagnosis from appearance alone.
Preserve the evidence in the cooled joint
When a small decoration comes apart, resist the urge to immediately add another layer of hot glue. Let everything cool, lay the separated pieces beside one another and examine both contact faces. The location of the adhesive can help distinguish a deposit that never bonded to the second surface from a surface coating that separated beneath an otherwise intact deposit.
This troubleshooting sequence uses the North American WORX WX045L with its manufacturer-recommended 11 mm adhesive at approximately 200°C. It is for dry indoor, nonstructural decorative work. A failed shelf, electrical fitting, food-contact item or safety-related repair needs an appropriate specified joining method, not a larger hot-melt trial.
Do not touch warm adhesive to test whether it is set. Keep thin or permeable materials supported rather than holding them over your hand. If the workpiece melted or distorted, stop testing that hot-melt combination. A neat-looking glue line is not success when the material around it has been damaged.
Read the two contact faces cautiously
If most adhesive remains on one piece and the matching face shows little contact, consider whether the deposit cooled before the pieces met. A long application sequence, searching for the second part or adjusting supports after dispensing can all leave the earliest adhesive too cool to wet the other face properly.
If loose dust or a peeling finish is attached to the glue, the bond may have failed within the surface layer. Gluing over that same layer again can reproduce the problem. Check whether the exposed material is something that can be prepared safely; do not scrape or sand an unknown coating just to create a rougher surface.
A clean-looking release does not prove a single cause. A very smooth surface, grease, an unsuitable material or an incompatible adhesive can produce similar results. Use the failure faces to choose a small controlled test, not to claim certainty from appearance alone. Keep notes about the actual materials and adhesive instead of changing several factors at once.
Prepare representative samples, not the valuable item
Use spare pieces with the same surface finish as the project. Clean them by a method appropriate to those materials, leaving the contact faces dry and free of loose contamination. Do not use flammable solvents. The tool itself has a dry-cloth cleaning rule; do not confuse surface preparation with permission to wet or chemically clean the gun.
Where slight roughening is appropriate for a known safe material, it may help a smooth surface, but avoid coatings of uncertain composition and surfaces that cannot tolerate damage. If preparation would ruin the decorative finish or expose an unknown layer, choose another attachment method rather than proceeding with abrasive experimentation.
Dry-fit the sample and arrange its supports before switching on. Bring the pieces together without glue to ensure there is no bowing or gap that you are trying to fill by force. Keep hands clear of possible squeeze-out and use a heat-resistant silicone pad or suitable base beneath permeable work.
Test prompt contact before adding quantity
Start the WX045L normally and wait for its green ready indication. Use the identified recommended adhesive and a gentle, uniform trigger action. Apply to one side and join the pieces promptly, with the alignment already established. Do not cover a large area while the first portion cools unnecessarily.
For long or broad work, the model’s guidance recommends adhesive points rather than coating the entire surface. Use a modest pattern suited to the sample and compare the cooled result with the previous failure. The purpose is to shorten the time between dispensing and contact, not to assign a universal dot spacing or bond strength.
Let the joint cool undisturbed before normal gentle handling. Check appearance, contact and attachment separately. If prompt joining fixes the sample, preserve that sequence when making the finished piece. If it still releases easily, do not keep increasing the bead size; reconsider the surface and adhesive compatibility.
Reject applications that need another adhesive
Moisture can undermine hot-melt joints, and the WX045L troubleshooting guidance specifically directs wet-location tile and shoe-sole problems toward an appropriate specialized adhesive. Do not reinterpret a dry tabletop test as permission for a damp room, an outdoor attachment or a frequently flexed repair.
Heat exposure and meaningful loads also change the problem. A decorative joint that survives careful handling on the bench has not been qualified for a hot environment or structural duty. When the task demands those conditions, stop this trial and select a method actually specified for them.
Finish by recording the successful material preparation and prompt-contact sequence, or by recording that this combination was rejected. Both outcomes are useful. Unplugging is not the shutdown method for this battery tool: switch it off, let it cool safely and remove the battery before maintenance. The goal is a suitable joint and a controlled process, not simply finding a way to make more adhesive leave the nozzle.
Models referenced