
Inspect a stored jigsaw before returning it to work · Diagram
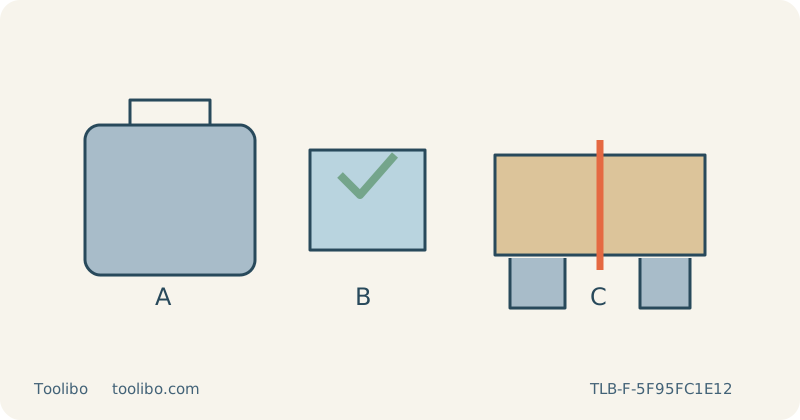
A closed storage case, an inspection check and a separate supported sample form a three-stage return-to-use sequence.
A
Identify the stored equipment
B
Inspect with power isolated
C
Prove readiness on scrap
Recheck identity, external condition and controls before proving the setup on supported scrap.
Start with identity and storage history
A jigsaw that has spent months in a cupboard should not go straight from its case into a finished panel. First identify the exact model, power source and applicable manual. Check whether the stored blade belongs to that tool and whether any loose accessories have been mixed into the case. A familiar brand name is not enough to establish clamp type, battery compatibility or a base-adjustment procedure.
Ask what is known about storage. A dropped case, damp conditions or an unknown previous fault changes the decision. Visible corrosion, cracked housings, damaged insulation or a battery with swelling, leakage or impact damage requires stopping and following the manufacturer’s service or battery guidance. Do not charge a questionable battery simply to discover whether it still works, and do not use a stored tool with an unresolved defect as a test platform.
Inspect externally with all power removed
Switch the tool off, remove its battery or unplug its cord, and keep it isolated during inspection. Examine the base, guard, accessible fasteners, cable or battery interface and ventilation openings. Look for missing parts, packed dust or objects lodged in the case that could obstruct a control. Clean only accessible areas using the method allowed by the manual; do not open the housing to look for corrosion or apply an improvised solvent bath.
Check whether the start, stop and lock controls move as described with power removed. On a tool with lock-on, confirm the normal off state before reconnecting. For the RYOBI PSBJS01 specifically, the side switch returning to rest is not proof of an off state during operation; the documented second forward push stops it. Refresh that routine before a live test instead of relying on a memory formed with a different saw.
Replace assumptions about the blade and base
Inspect the old blade for bends, rust, missing teeth and wear. Select a sound blade suited to the actual wood and thickness rather than preserving an unknown blade simply because it is already installed. Fit the correct shank completely according to the model’s instructions, locate the back in the guide roller where required and verify retention. Allow safe handling of sharp edges, and never test a questionable clamp by powering it up.
Secure the base at zero bevel for the return-to-use sample. Check that any cover plate or anti-splinter insert is the correct part and is permitted in that setup. A loose accessory found in the case is not evidence of compatibility. If the base or blade cannot be locked reliably, keep the tool out of use and arrange service rather than tightening unrelated screws or modifying the accessory to make it fit.
Restore a controlled work area
Choose a loose, clean, uncoated wood sample matching the planned project. Clamp its retained portion to a stable bench and independently support the waste so it cannot drop or close the kerf. Inspect the entire underside for full blade-stroke clearance. Keep the base route clear of clamps and arrange the cord or compatible extraction hose behind the saw, with enough freedom for the complete cut.
Wear eye and hearing protection and suitable respiratory protection, and provide ventilation and compatible dust extraction. Restore any manufacturer-required blower or vacuum setting before cutting. A tool taken from storage may have been left in a previous user’s mode, so check the controls rather than assuming the default position. Select appropriate speed and orbital action for the sample and confirm that the stopping control remains comfortably reachable.
Let the first sample determine readiness
With the base supported and the blade clear of the wood, start using the exact model’s routine and establish speed before feeding. Make a short, simple cut without forcing the blade. Stop on abnormal sound, smell, heat, loss of base contact or uncertain control response. Wait for a full blade stop before withdrawing or setting down, then isolate power before inspecting or changing anything.
Examine the sample’s line, both faces and cut-face squareness. A running motor alone does not prove that the tool is ready for a demanding fit. Resolve external setup issues on scrap and obtain service for persistent faults. Record the blade and settings that worked, then store the tool clean, cool and protected after use according to its manual. Keep damaged components clearly separate from usable equipment so that the next return to work does not repeat the same uncertainty.
Models referenced