
SKIL JS314901: separate the dial, foot lever and light · Diagram
A speed dial, separate foot lever and light cone are shown as three distinct controls.
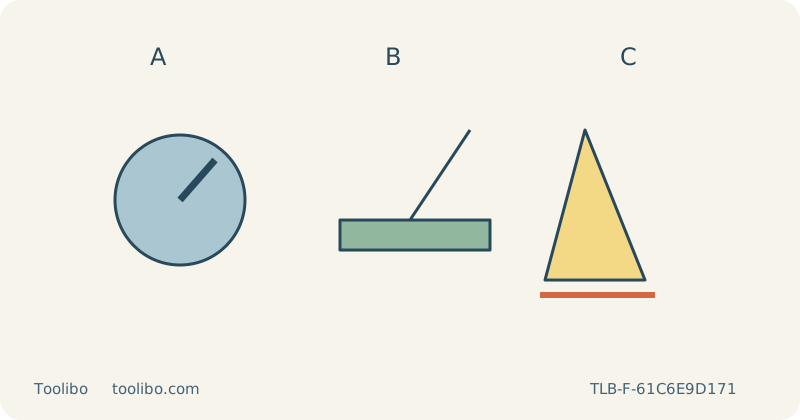
A
Select speed separately
B
Verify foot locking
C
Light does not prove squareness
A speed dial, separate foot lever and light cone are shown as three distinct controls.
Identify the controls as a system
The US SKIL JS314901 is the corded 120 V, 60 Hz, 6 A model covered here. Its trigger starts and stops the saw, its lock-on supports continuous operation, and its variable-speed dial selects the cutting speed. Orbital action and the blower switch are separate controls. Moving one does not establish that the others are set appropriately for a visible wood edge.
Before plugging in, identify each control from the correct manual and rehearse its movement with the tool disconnected. Do not assume that the JS313101’s foot-adjustment routine applies: the JS314901 uses a bevel lever rather than that model’s hex-screw arrangement. This guide prepares a zero-bevel sample in loose, known, uncoated wood, not a test of metal capacity or of the machine’s marketing claims.
Fit a compatible blade and lock the foot
Unplug the saw and let the blade cool before replacing it. The manual accepts the specified common T-shank and U-shank types. Choose an intact blade whose material and thickness range match the project. Follow the clamp procedure, insert it fully with teeth in the cutting direction, locate the back in the roller guide and verify secure retention. A blade that merely enters the slot has not necessarily seated correctly.
With power still removed, pivot the bevel lever to unlock the foot and use the documented sequence to set zero bevel. Seat the locating features before locking the lever again. Check that the foot remains secure. Do not force the lever to compensate for a misaligned assembly, and do not tighten unrelated screws or add a shim to hide a base that will not stay fixed.
Separate speed, orbital action and lighting
Use the speed dial to select an initial setting appropriate to the blade and wood. Establish the result on matching scrap rather than assuming the maximum setting is automatically cleaner. Orbital action changes the cutting motion and is another variable; start with low or no orbital action for a visible finish, then alter it only when the sample justifies a change.
The front work light helps reveal the line, but it does not prove that the underside is clear or the tool is safe to handle. Unplug before setup changes even when the light is off. Learn the lock-on release sequence from the manual and leave lock-on unused for the first short sample. A trigger remaining in a continuous-operation state is a different control situation from an ordinary squeeze-and-release trial.
Arrange the whole cut before starting
Clamp the retained board on a stable work surface and support the waste independently so it cannot drop or close the kerf. Inspect below the entire line for clearance through the full blade stroke. Place clamps outside the base route, including where the saw will exit, and route the power cord behind the tool without a loop that the waste can snag.
Wear eye and hearing protection and suitable respiratory protection. Use compatible dust control and ventilation, selecting the blower arrangement according to the manual and the attachment being used. With the base supported and the blade clear of the wood, start the saw and establish speed before feeding. Keep the base flat and advance at a rate the blade can manage. Do not try to recover a wandering line by twisting the blade sideways.
Inspect fit and control before moving to the project
Stop if the foot moves, the blade binds, the board vibrates or the cable catches. Wait for the blade to stop completely before withdrawing, setting down or inspecting. Unplug before adjustments. Look at both board faces and use a square on the cut face; a brightly illuminated top line may look accurate while the lower edge has deflected.
Repeat a sample with one useful correction at a time and record a successful arrangement. The product page and manual show different metal-capacity figures, so this wood guide does not use either to recommend metal work. Nor does a clean sample establish durability or cutting-speed superiority. If the base will not lock, the blade will not remain held or electrical operation becomes irregular, stop and arrange service instead of using the light, speed dial or additional hand pressure to work around the fault.
Models referenced