
SKIL JS313101: set the blade, foot and cord route · Diagram
A hex key sits above a level foot while the cord curves away from the blade to a separated plug.
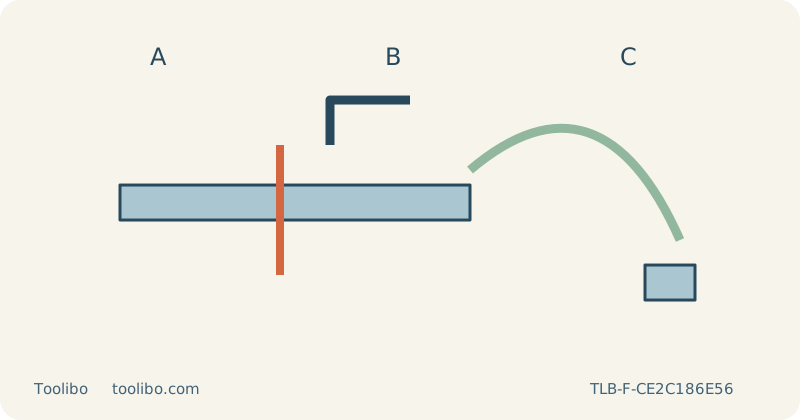
A
Unplug before adjustment
B
Lock the foot screw
C
Route the whole cord
A hex key sits above a level foot while the cord curves away from the blade to a separated plug.
Match the supply and the exact model
This setup concerns the US SKIL JS313101 corded jigsaw. Its manual identifies a 120 V, 60 Hz, 5 A supply requirement. Do not treat a simple plug adapter as a solution for a different voltage, and do not borrow electrical assumptions from a cordless SKIL model. Confirm the nameplate, the correct supply and the condition of the plug and cable before planning a cut.
Use a loose, clean, uncoated wood sample for the first setup. This is not an instruction to cut an installed shelf, wall panel or material that may conceal fasteners or services. If the cable is damaged, a connection is scorched or the saw has an unresolved fault, take it out of use. Tape, repeated protective-device resets and holding a loose plug in position are not repairs.
Install the blade while the plug is removed
Release the trigger and ensure lock-on is disengaged, then unplug the saw. Let a recently used blade cool before handling it. The checked instructions permit the specified common T-shank and U-shank blade types, but that does not mean every blade profile or length is appropriate for the wood. Select an intact accessory whose application range covers the material and thickness.
Follow the tool-free blade-clamp procedure, seat the blade fully with its teeth facing the cutting direction and locate its back in the roller guide. Release the clamp and verify retention while the tool remains disconnected. Do not use a bent blade, grind a shank to make it fit or energize the saw to settle an incomplete insertion. If a correct blade will not remain held, stop and seek service.
Secure the foot before relying on the scale
The JS313101 uses a hex screw to secure the foot. With the plug removed, follow the manual’s sequence for loosening, shifting and setting it, ensuring that the locating features seat properly at the chosen position. For this first sample, use zero bevel and tighten the fastening as instructed. Do not assume that a foot sitting near the zero mark is secure merely because it does not move under its own weight.
Place the stopped assembly on a clean reference surface and check for obvious rocking or trapped chips. A printed angle is a setup reference, not proof that the resulting edge will be perpendicular through the whole board. If the base has visible damage or cannot hold its setting, it needs attention before a sample cut; extra downward force during cutting is not an acceptable substitute.
Keep the cord outside the work and waste paths
Clamp the retained wood to a stable bench and independently support the waste at the correct height. Leave the complete moving blade stroke clear underneath and all clamps clear of the base route. Lay the cord behind the saw so it cannot cross the intended cut, catch the departing waste or pull the tool sideways near the exit. Check the entire travel with power still disconnected.
Wear eye and hearing protection and suitable respiratory protection. Use compatible dust control and ventilation. Select the appropriate orbital action and learn the variable-trigger response before committing the finished piece. For a short first trial, leave lock-on unused. Support the front of the base, keep the blade clear of the work, start and establish the chosen operating speed before feeding steadily along a simple straight line.
Use the sample to decide whether the setup is ready
Keep the base flat and let the blade remove material without excessive forward or sideways force. Stop if the wood begins moving, the cord catches, the base lifts or the saw labours. Release the control, wait for the blade to stop completely and only then withdraw it or set the tool down. Unplug before changing the blade, base, support or any attachment.
Inspect the upper line, lower edge and cut-face squareness. If the result misses the actual fit requirement, improve one identifiable factor on another sample rather than trimming the finished board repeatedly. Keep the good sample and note the blade and reference face for repeat work. Recheck the electrical path and support when the workspace changes, and stop using the tool if intermittent starting, an insecure foot or uncertain blade retention appears.
Models referenced