
Trace capture from abrasive to collector
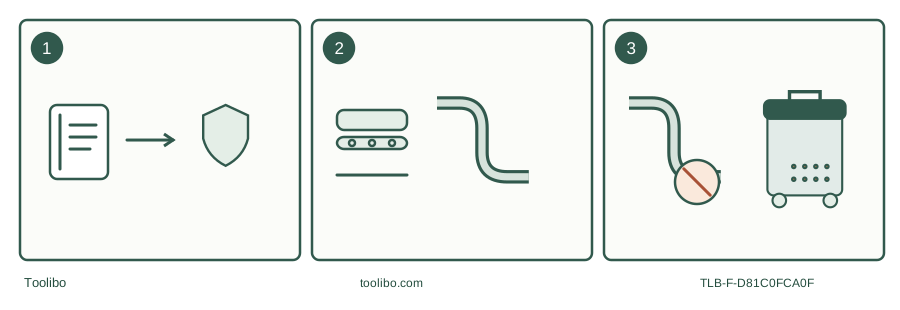
A sanding face with aligned extraction openings leads through the tool passage, outlet and supported hose to the collector; a lower strip shows isolate, inspect, configure and stop-on-fault stages.
Identify
Confirm material and system permission
Prepare
Match abrasive, pad and hose routing
Observe
Stop on escape or an airflow warning
Check the complete capture route before work, then stop and diagnose any loss of capture.
Begin with the surface, not the adapter
Write down what you will sand, including any coating, filler or backing. “Wood” is not a complete material description when the surface carries an unidentified finish. If the composition is unknown or potentially hazardous, pause the project before choosing an abrasive or connecting a vacuum. Do not create a small test cloud to help identify it.
Next check that the exact extractor permits the material and operation. A familiar domestic model can have narrower limits than its appearance suggests: the Bosch AdvancedVac 20 manual excludes beech and oak dust, rock dust and asbestos. That is a model-specific boundary, not a statement that another ordinary shop vacuum is suitable. Match the tool, material and extraction system rather than starting with whichever machine is already in the cupboard.
Trace the capture path on the bench
With equipment isolated according to its instructions, follow the route from the sanding face to the collector. The abrasive, backing pad, internal passages, tool outlet, connector and hose each need to belong to the intended configuration. UK HSE guidance treats the tool and capture arrangement as part of the extraction system; it also notes that sufficient holes in the abrasive matter for sanding capture.
Choose the abrasive pattern specified for the pad rather than assuming that equal disc diameter means equal extraction compatibility. Check the pad and prescribed openings for damage or obstruction. Do not punch a new hole pattern or remove a guard to make a mismatched consumable work unless the manufacturer explicitly provides that procedure. If documentation leaves the combination uncertain, resolve it before running the tool.
Set up for the movement you will actually make
Place the collector where its hose will not cross a doorway or pull the sander toward the edge of the work. Secure the workpiece appropriately for the operation. Move the isolated tool through its intended working area and notice whether the hose twists, catches or becomes taut near the far edge. A setup that fits neatly in a photograph can still be awkward halfway through a pass.
Use supported routing and compatible accessories rather than holding the hose with the hand needed to control the tool. Keep access to the tool and extractor controls clear. Plan where you will set the tool down when stopping, following the tool’s instructions, so an unexpected interruption does not force you to drag the hose across the work.
Make a short pre-start record
Swipe or scroll horizontally to see all columns.
| Check | What you want to establish | If the answer is missing |
|---|---|---|
| Material and coating | Known and permitted for the system | Pause and identify the task |
| Abrasive and pad | Specified pattern, condition and attachment | Obtain the correct consumable |
| Tool outlet and hose | Approved connection without damage or strain | Correct the connection before use |
| Collector configuration | Required filter, bag and settings | Follow the exact extractor manual |
| Operating sequence | Who starts what, and how both stop | Read both manuals before beginning |
This record is especially useful when several people share a workshop. It turns “the vacuum worked last time” into a repeatable setup for one defined task, while making changes in material or consumables visible.
Respond to poor capture without improvising
If dust visibly escapes or an airflow warning appears, stop the task and follow the shutdown instructions. With the equipment safely isolated, distinguish the location of the problem. Escape at the working face suggests reviewing the specified abrasive, pad, capture arrangement and technique. Leakage at a coupling suggests a connection or damaged-part problem. A collector warning calls for its documented checks, which may involve the collection load, filter or hose.
These observations help organize troubleshooting; they are not proof of a single cause. Do not keep sanding harder while raising suction at random. Do not open an undocumented bypass, tape over a vent or remove a filter to improve the apparent airflow. Settings that are appropriate for one combination are not automatically correct for another.
Finish with the same boundaries
After stopping, follow the prescribed run-down and isolation sequence before handling collection components. Use the documented cleaning and disposal method for the permitted material; do not blow residual dust around the room. Record any recurring leak or warning so it can be corrected before the next session.
A tidy bench and lack of a visible cloud are useful observations, but neither measures airborne exposure. Where the work requires assessed occupational controls, use the required system and competent advice. This checklist helps prepare and maintain a known arrangement; it cannot certify an unsuitable machine or turn an unidentified surface into a safe sanding project.