
Hose and nozzle fit
Three panels show suction inlet versus crossed blower choice, a tab aligned with a ridge, and short approved hose-to-nozzle reach around a car sill.
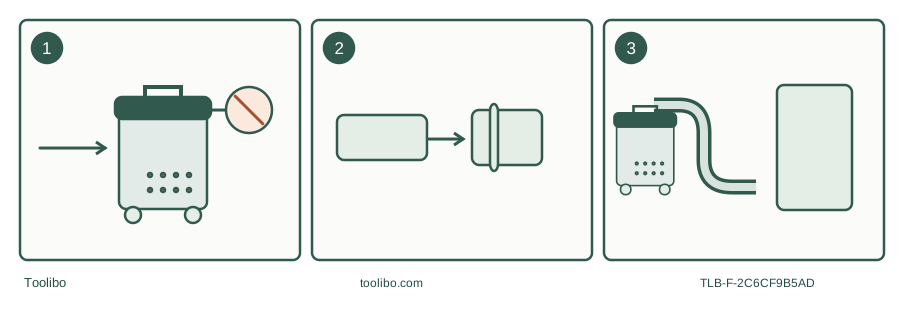
Port
Select collection inlet, not blower outlet.
Lock
Align and engage the matching connector.
Reach
Leave slack and use approved shorter assemblies.
Model-specific decision path; isolate power before opening or changing the collection system.
Work from the machine toward the surface
An accessory problem is easier to understand when you separate the machine inlet, hose cuff, handle, extension tube and nozzle. Each joint can use a different retention method. A stated nominal diameter does not establish that its locking tabs, taper or seals match another brand. Keep the exact model’s accessory list and assembly instructions nearby instead of relying on “universal” in a sales title.
Switch off and unplug before fitting, releasing or inspecting a connection. Use only a known permitted cleaning task while checking the assembly. Do not use unknown powder, hazardous dust or liquid to test whether an adapter is sufficiently airtight. An accessory fit check cannot certify a vacuum for material it was not approved to collect.
Find the suction inlet rather than the most convenient hole
Some bucket vacuums have both a collection inlet and a blower outlet. The RIDGID HD12000 manual SP7160 (04/24) labels the drum inlet separately from the rear blower port. Connecting the hose at the latter changes its function. If a freshly assembled hose blows instead of sucks, stop and identify the ports rather than turning the nozzle around or searching for a hidden power setting.
Inspect the inlet, cuff and latch for cracks, trapped debris or a damaged seal. Clear only accessible ordinary debris while disconnected. Do not insert fingers or tools into motor ventilation openings. A broken locking tab is a part-replacement issue; wrapping tape around it can hide the defect while transferring extra load to the inlet.
Follow the connector’s own movement
For the documented HD12000 hose, the locking tab aligns with the inlet ridges and the cuff pushes straight in until engaged. Removal uses its specified rotation and tab-release sequence. The manual separately describes locking accessories at the wand. Do not assume that the hose lock and nozzle lock are identical merely because both click.
Kärcher WD 4 manual 59510240 offers another useful example: the hose handle is removable for confined spaces, and the accessories can connect directly to the hose. Its handle release uses the grey areas on both sides. That is a model-specific supported arrangement, not permission to pull any vacuum handle off by force.
Swipe or scroll horizontally to see all columns.
| What happens | Likely question | Safe next action |
|---|---|---|
| Cuff will not enter | Wrong end, wrong port or incompatible shape? | Compare the diagram and part number |
| Joint fits but will not retain | Lock obstructed, incomplete or damaged? | Inspect disconnected; replace damaged part |
| Air leaks at joint | Seal or taper correctly seated? | Reseat by the intended method |
| Tool is too bulky for the gap | Is direct hose attachment supported? | Use an approved smaller arrangement |
Check useful reach without using the hose as a handle
Lay the machine where the hose reaches the intended surface with slack. A connector that survives a gentle fit check should not be treated as a towing point for a heavy water-filled tank. Do not pull the vacuum down a step, around a door corner or against a car sill by its hose. Stop and reposition the machine when the work area changes.
For floor cleaning, ensure extension tubes and the selected nozzle are fully joined. For a confined car area, fewer approved pieces may give better control than a long assembly. Keep the rigid cuff away from delicate trim and do not press a narrow nozzle hard into fabric or wiring. A fitted tool still has to suit the surface.
Verify without blocking or dismantling
After the disconnected fit check, close the machine correctly and start only for the normal permitted job. Attend it and stop for a loose attachment, escaping dust, abnormal sound or unexpectedly poor pickup. Do not seal the nozzle against a body part or hand to judge suction. A poor result may involve a full bag or dirty filter rather than the connector.
If the approved parts do not fit as shown, record the model, hose and accessory part numbers and ask the manufacturer to resolve the mismatch. Do not drill, cut or grind an inlet, stack improvised adapters or remove a protection part to make room. Correct fit is a mechanical compatibility decision, not a contest of force.