
PCL406 collection assembly: outlet, frame and bag
An exploded outlet, rigid frame and separate bag show the fitting direction and how the bag separates from the frame for emptying.
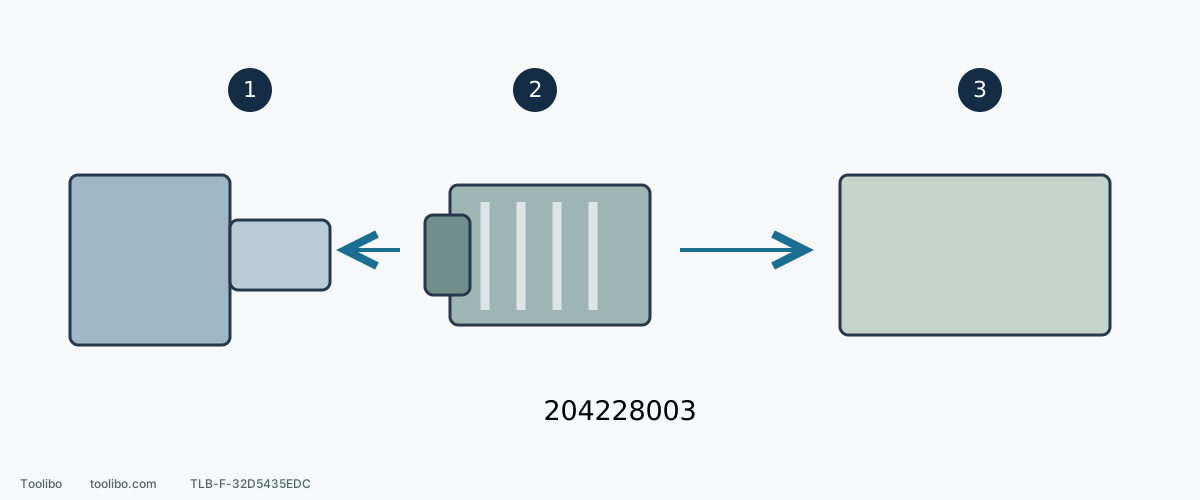
1. Tool outlet
With battery removed, inspect mating surfaces and use a slight twist while pushing the complete assembly on.
2. Rigid frame and connector
Grip the rigid connection to take the whole assembly outward off the port; do not pull the distant fabric end.
3. Bag and assembly identity
Separate for shaking out dust and inspect fabric; 204228003 is the documented assembly code, subject to model/date-code and replacement checks.
Simplified relationships, not exact part contours. Refit the bag on the frame before attaching the complete assembly; never operate with the frame alone.
Identify the assembly and material
PCL406’s bag assembly includes a rigid frame and the bag fitted over it, not a fabric sleeve attached directly to the tool. Assembly code 204228003 can help identify a replacement, alongside the tool model, date code and original component details. Confirm applicable version and any supersession before ordering; similar color does not establish another model’s compatibility.
Do not use this bag for metal sanding because of fire risk. The following example concerns known bare-wood dust. Identify unknown coatings or accumulated dust before opening them on an ordinary bench.
Install with a slight twist and push
With the tool off, fully stopped and battery removed, inspect outlet, rigid connector, frame and fabric. Clear loose dust and hard particles from mating surfaces. Cracked outlets, distorted connections and torn fabric need correction, not tighter fitting.
Hold the rigid connector, align the complete assembly with the rear outlet and push with a slight twisting motion. No particular clockwise turns, insertion depth or sound is prescribed. Do not turn this into forceful threaded tightening or borrow another brand’s release latch.
Gently check retention and rehearse the route clear of clamps, frames and your body. Hanging in place but falling off during movement is not a pass. Never carry the tool by its bag.
Remove only after complete stopping and isolation
For normal PCL406 shutdown, press O, maintain controlled contact and wait until the disc stops on the work before lifting. Then remove the battery and set the tool securely down. Switch-off without battery removal is not enough for this handling.
Support the tool with one hand and hold the bag assembly’s rigid connection near the outlet with the other. Remove the whole assembly outward along the connection, away from the body. Do not yank the far fabric end, pry with a screwdriver or open the housing searching for a latch. If stuck, inspect the visible joint for dust, distortion or an incorrect part. Stop rather than twist until the outlet cracks.
Point the removed bag opening toward appropriate collection and away from your face before emptying, avoiding dust spilling into the battery port.
Separate and refit frame and bag
When access to accumulated dust is needed, separate the bag from its frame as shown, holding the mouth and frame rather than pulling distant fabric. Shake out dust and inspect the mouth, fabric and supported areas for tears, poor seating or distortion. Routine care here is shaking, not added soaking, solvents or high-pressure air.
Fit the bag fully back over its frame, with its mouth seated around the mating edge rather than folded inward or leaving a leak. Reattach the complete assembly with the slight twist-and-push motion. A bare frame or incompletely fitted bag is not ready to run.
Emptying versus taking out of use
Empty when no more than half full to avoid restricting airflow, and completely at completion and before storage. Dust containing polyurethane, linseed oil or other finishes can self-ignite; follow material disposal requirements and keep it from heat and sparks.
A stable bag collecting poorly calls for checking capacity, disc holes and visible passage. A clean bag repeatedly falling off calls for checking component identity and damaged connector or outlet. Tape, ties, drilled screws or holding it by hand while sanding do not establish a repaired connection.
Check before returning to work
With paper and holes correct, a complete retained bag, secured work and collision-free travel, confirm O before installing a compatible battery and checking both latches. Make a short trial using PCL406’s flat-contact start. Sudden leakage, detachment or unusual odor calls for this model’s shutdown, complete stop, lifting and battery removal before inspection.
If the correct, clean and undamaged assembly still will not retain, stop using that configuration and obtain service or replacement with model, date code, assembly identity and visible-damage details. Completion means reliable connection and intact fabric, not making a defective bag last a few more minutes.
Models referenced