
Compare before, wet and dry states
Matched paving sections with a joint and grain, wet middle stage and a final damage-versus-intact comparison.
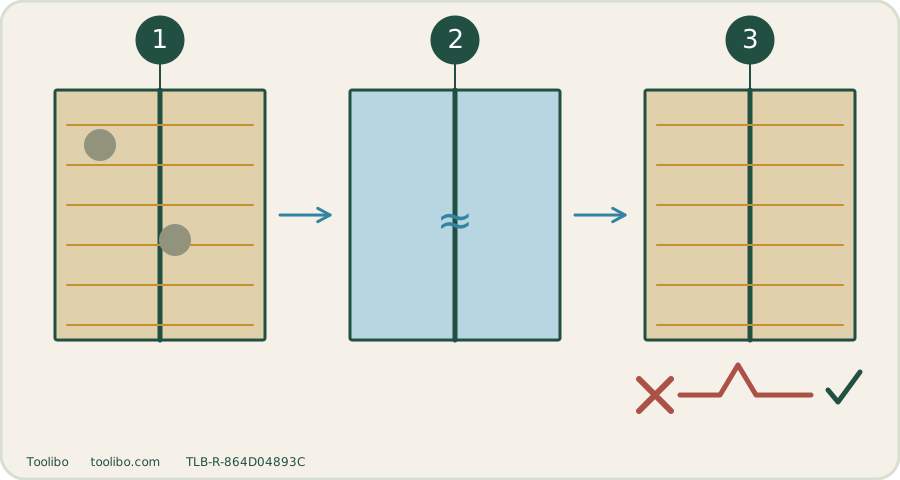
Reference
Keep comparable material untouched.
Trial
Record one approved setup.
Dry check
Compare texture, edges and joints before expanding.
Colour alone cannot establish a successful clean.
Decide what the trial must prove
Write a short question: “Will the approved brush-and-rinse method remove this dirt without lifting the finish or washing out the joints?” That is more useful than “Can I make this square look new?” The latter can encourage stripping material until its colour changes.
Identify the substrate, coating and joint system first. A pressure-washer test is inappropriate on a prohibited object. Trex, for example, distinguishes current named composite families from early-generation products with different pressure-washing permissions. A trial does not remove that distinction. If the material remains unidentified, choose identification or specialist advice before pressure testing.
Choose a representative but discreet location
Select a small area that includes the features you will later clean: the same finish, weathering and, where relevant, a joint or board edge. Do not choose only an unusually sound sheltered corner when the rest is cracked or peeling. Keep a nearby untouched area for comparison, and photograph both under similar light.
Prepare the permitted method and a record card: material, nozzle or accessory, setting, working distance, cleaner and dilution if approved, and number of passes. Record an actual distance only when it complies with both equipment and material instructions; there is no universal safe distance in this procedure.
Run one controlled trial
- Remove loose grit by the permitted gentle method. Note existing cracks, loose joints or coating lift before adding water.
- Apply one manufacturer-permitted setup. Keep the pass consistent instead of repeatedly dwelling on the darkest spot.
- Stop, complete safe shutdown if inspecting near the equipment, and check for lifted material or joint loss. Do not keep spraying to see how far the damage extends.
- Rinse loosened dirt and approved cleaner as specified. Residue left to dry can obscure the result.
- Allow the patch to dry naturally before comparing with the untouched area. Avoid a fixed waiting time: shade, material and weather change drying.
Read the result, not just the colour
Swipe or scroll horizontally to see all columns.
| Dry observation | Meaning for the next step |
|---|---|
| Dirt reduced, finish and joint intact | Record the setup and extend cautiously to comparable areas |
| Film or streaks but no visible material loss | Review permitted rinsing and cleaner use before another trial |
| Roughened texture, fibres lifted, coating missing or joint washed out | Stop pressure cleaning; obtain material-specific repair advice |
| Stain unchanged | Reassess stain identity instead of increasing force automatically |
A brighter patch may represent removed finish rather than successful cleaning. Compare texture and edges as well as appearance. If inspection is uncertain, do not expand the job.
Change one allowed variable
If another trial is justified, change only one permitted element, such as the approved brushing step or rinse sequence. Keep the others documented so you can tell what changed the result. Do not simultaneously choose a narrower nozzle, move closer and add a stronger chemical.
Treat the successful trial as a limit for genuinely comparable material, not a certificate for the entire property. Stop and reassess when you reach another coating, repaired joint, rotten board or different stone. Save the dry photograph and record for the next cleaning rather than relying on memory.