
Return to the heating base between small joints
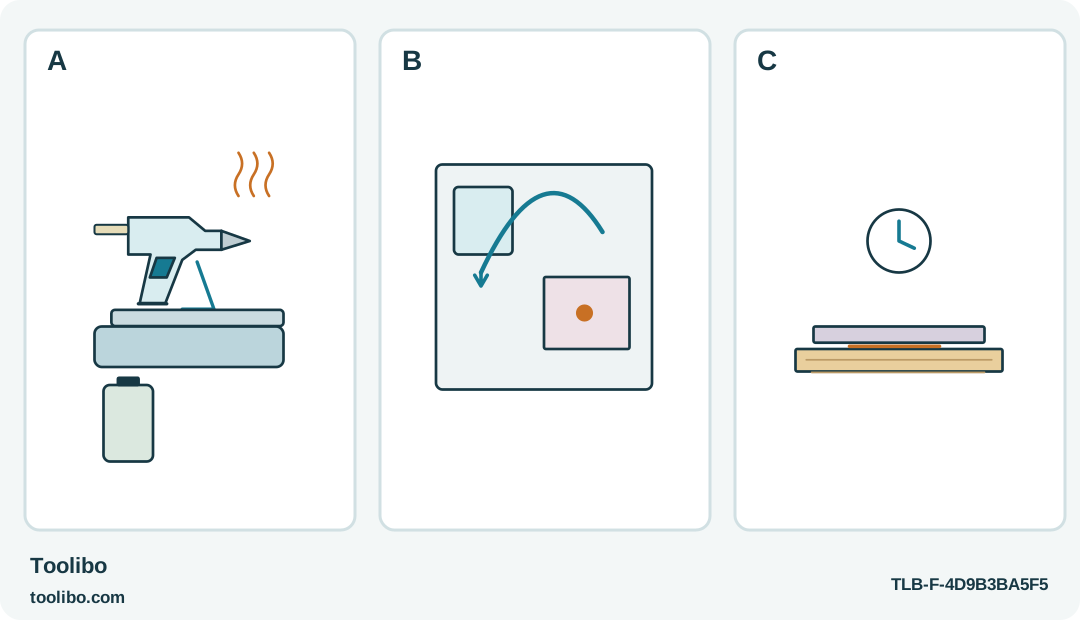
A gun seated over its base, a short clear bench return route and a supported cooling joint show the dock-centred work rhythm.
A
P306 heats while seated in its powered base; the base is not a battery charger, and its lights are not temperature-ready signals.
B
Place the base beside the supported joint with a clear return route. A lifted gun spends stored heat, so return before arranging the next part.
C
Complete one modest contact promptly, then let it cool undisturbed while reheating occurs at the base. Increasing trigger resistance means stop feeding.
The joint and heating base form one workstation, with an unobstructed return after each small application.
Arrange the job around the heating base
The Ryobi P306 is useful when a small decoration needs an unobstructed approach, but its cordless movement does not mean continuous heating in your hand. Heat is supplied while the gun sits in its powered base. Once lifted out, it works with stored heat. Plan short applications with an easy return to the base rather than a long tour around the room.
For a dry decorative cardboard assembly, put the base beside the work on a stable protected bench. Keep the return route clear of loose ribbon, scraps and your supporting hand. The base must stay upright and accessible; do not place it behind the project where a hot nozzle has to pass across your wrist. Prepare every piece before switching on.
Dry-fit the assembly and choose a first joint that you can finish without moving the base. If the project requires overhead gluing, an upward-pointing nozzle or reaching across furniture, change the setup. Bringing a small object to the bench is preferable to taking this workflow to an awkward location.
Load and establish usable flow
With the base switched off, check the P306 and its recommended battery for visible damage. Follow the matching battery instructions for charging and installation. The base is a heating station, not a battery charger. Use an adhesive suitable for both your materials and this gun; the US manual permits mini sticks of 0.28 inch (7.11 mm) or 0.31 inch (7.87 mm). That diameter allowance does not establish the adhesive formula’s suitability for a coated surface.
- Load the appropriate stick with the unit off and seat the gun securely in the base.
- Switch on and allow the initial heating period, approximately five minutes in the manual, without repeatedly squeezing the trigger.
- Observe the base and gun lights separately. The base light indicates power with the switch on; the gun light indicates connection to the base. Neither is a glue-temperature-ready signal.
- Lift the gun carefully and make a small trial application on supported matching scrap. Smooth delivery under ordinary trigger pressure is the useful working check.
If the trial is stiff or irregular, return the gun to its base. Different compatible adhesives can need different heating time. Extra hand force does not replace heat, and the clock alone does not prove that a particular stick is ready.
Make short joints, then return for heat
Keep the nozzle near the supported work and control the amount with the trigger. The P306 instructions describe using two fingers on the trigger. Keep all fingers away from the nozzle and molten bead; holding a tiny ornament behind the receiving area is not a safe substitute for a fixture. Use an appropriate cool support or tongs for a piece too small to handle outside the hot zone.
Apply only the amount you can join promptly. Return the gun to the base before positioning the second part, so the hot tool has a stable place and reheating can occur while you attend to the joint. Press the materials together through cool, accessible areas rather than pressing directly on the adhesive. Leave the assembly supported until the glue has cooled.
For repeated decorations, alternate one application with a planned return instead of completing a fixed number of pieces regardless of flow. A rising trigger resistance is the important interruption: stop squeezing and put the gun back to heat. Do not push the stick harder, lift the base with the gun, or feed a different diameter to overcome resistance. Resume only after another scrap check shows usable flow.
Finish without creating a rushed last joint
A nearly completed project can tempt you to use a cooling bead on the final corner. If the glue has skinned over before the parts meet, do not disguise that failed contact by pressing harder or surrounding it with another bead. Let the pieces cool, inspect the joint and reconsider the sequence. A small decorative assembly should align without continuous hand force; springing parts need a better fit, not a hotter tool.
Switch the base off when the work ends and leave the gun seated to contain incidental drips. Keep the cooling area out of reach and do not pack the unit merely because the lights are off. The manual calls for at least thirty minutes before storage, with complete cooling still required. Remove the battery only after the tool has cooled, then store the gun and base dry.
Check the finished decoration when cold. Lift it only as its intended ordinary handling allows; any rocking, open edge or adhesive peeling from one surface means the trial did not establish a useful bond. Keep the result decorative and indoors, away from heat or moisture. The successful rhythm is a freely flowing small application, a stable dock return and an undisturbed cooling joint—not the longest possible time away from the base.
Models referenced