
Cold and disconnected are separate prerequisites
Model and disconnected-power checks, an aligned external nozzle fitting and a circled joint leak define the 940-only cold replacement boundary.
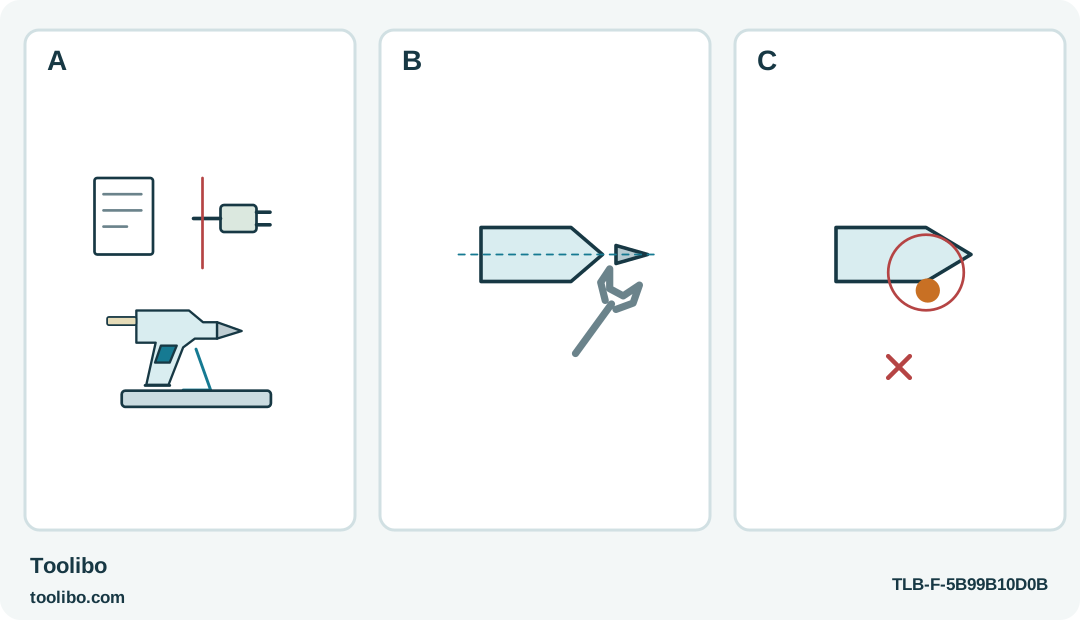
A
Confirm the exact Dremel 940 and approved nozzle, switch off, disconnect and let the entire hot end cool fully.
B
Follow the specified cold spanner-and-thread procedure without forced alignment or an invented torque. This is external conceptual geometry only.
C
A loose fit or leakage after the normal scrap test means stop; never tighten hot to rescue the result. Other models may have different replacement rules.
The illustrated replacement applies to the identified 940; it requires a fully cold, disconnected tool and the approved external nozzle.
Confirm that replacement is the right job
A changeable nozzle can be useful when an approved alternative suits a particular application, or when the manufacturer specifies replacement of a damaged part. It is not an invitation to unscrew the front of any glue gun that looks similar. This procedure applies only to the identified Dremel 940 and a nozzle approved for that tool.
Check the model and replacement identity while the gun is cold. Keep the replacement packaging available and compare it with the intended application, not just the apparent thread size. A nozzle that starts to fit is not necessarily compatible. Do not adapt an accessory from the 930 or a different manufacturer’s gun.
If the problem is poor adhesive flow, first rule out ordinary readiness and consumable issues through the appropriate checks. Removing a nozzle is not a general diagnosis for a damaged heater, unsuitable adhesive or a feed obstruction. Internal repairs and attempts to clear the gun with pointed objects remain outside this job.
Make cold and disconnected separate checks
Set the 940 switch to off and disconnect it from power. Let the complete hot end cool until the tool is cool to the touch, as required for this model’s nozzle change. Do not judge cooling from the indicator being off or from the time since the cord was detached.
Keep the gun on its safe stand during cooling, away from children, pets and objects that could brush the nozzle. A job interrupted for cooling should not leave a hot gun balanced on a cluttered shelf. Clear the replacement area before you begin rather than shifting materials around a hot front end.
Confirm the supply is disconnected again at the point of work. The rule here is cold replacement for the 940. Do not borrow a hot-change instruction from another brand or assume that briefly warming a stubborn thread is an acceptable workaround.
Remove the nozzle without opening the gun
Set the cooled gun securely on the work surface and use a suitable spanner on the nozzle as the tool instructions describe. Keep the force controlled and directed at the intended fitting. Do not grip a plastic part as though it were a metal nut or use the body as a lever against the bench.
Turn the nozzle from the housing through its intended threaded connection. If it will not release with an appropriate ordinary tool and controlled effort, stop and seek service guidance. Heating the gun, crushing the fitting with pliers or applying an improvised extension to the spanner adds risk without establishing why it is stuck.
Keep the removed nozzle separate from the replacement so they cannot be confused. Do not insert a cleaning wire into the exposed opening. Avoid introducing debris, solvent, grease or thread compound; this is an accessory replacement, not a chance to service the melting chamber.
Fit the approved replacement carefully
Mount the new nozzle on the housing through the intended connection. It should seat correctly without being forced into an obviously misaligned thread. If the start feels wrong, stop rather than tightening harder to pull the fitting into line. Check that the replacement matches the exact 940 accessory requirements before proceeding.
Use the specified fitting method without inventing a torque value. The absence of a published number is not permission to apply maximum leverage. A visibly loose, crooked or damaged fitting is not ready to heat. If correct seating cannot be established confidently, leave the gun disconnected and ask for support.
Inspect the surrounding front end and the stand before the first test. Restore a clear, heat-resistant resting area and remove the spanner and packaging from the hot-tool zone. No hand should need to remain near the nozzle to hold the replacement in position during heating.
Test on scrap and reject abnormal leakage
Reconnect the intact rated supply, switch on normally and allow the tool to heat. Make a small controlled application on protected scrap using the proper adhesive. Observe both the intended output and the fitting area without touching them. Stop if the nozzle is loose, adhesive escapes at an unintended joint or anything behaves abnormally.
Do not tighten a suspect fitting while hot to try to complete the repair. Switch off, disconnect and allow full cooling before any further permitted inspection; persistent problems need service. After a normal test, check the application pattern on the cooled sample before using the nozzle on finished work. Keep the model-specific cold-change rule with the replacement packaging for the next time.
Models referenced