
Bosch GST 18V-125 B or S: compare the operating routine · Diagram
A schematic bow grip with a trigger marker contrasts with a barrel grip and sliding-switch arrow.
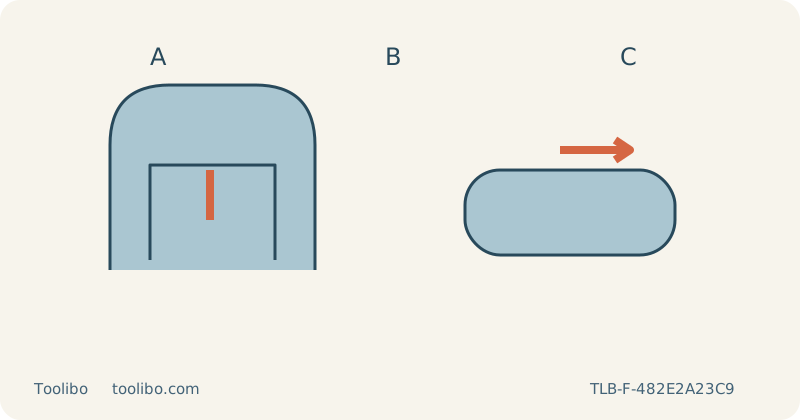
A
Identify the B trigger
B
Identify the S slide switch
C
Compare stopping routines
A schematic bow grip with a trigger marker contrasts with a barrel grip and sliding-switch arrow.
Compare controls, not the shared family name
Bosch’s UK GST 18V-125 B and GST 18V-125 S share operating instructions but require different starting and stopping habits. The B is the bow-handle machine listed under order number 06015B3000; the S is the barrel-grip machine under 06015B2000. Their manual machine families are 3 601 EB3 0.. and 3 601 EB2 0.. respectively. Keep those identities separate when checking a diagram or ordering a part.
This comparison concerns supported cuts in loose, known, uncoated household wood. It does not rank vibration, speed, endurance or accuracy from practical testing. A useful choice begins with whether the grip and switch routine suit the actual route and workholding. A familiar-looking handle is less important than being able to keep the base flat and perform the correct stop without stretching or losing control.
Rehearse the different stopping routines
With both tools switched off and their batteries removed, identify the B lock-off and trigger. After releasing the lock-off as instructed, trigger pressure controls its stroke rate within the selected arrangement. Releasing the trigger stops the drive. The S instead has a sliding on/off switch and a stroke-rate preselection wheel, with a separate worklight control. Pressure on that switch is not the B’s variable-trigger routine.
Draw a representative route and hold each isolated tool in its normal upright orientation. Consider wrist position, visibility and access to the stop throughout the route, not only at the start. If a curve would force an insecure grip, turn the loose board or divide the work into planned approaches. Neither handle shape is a reason to cut overhead, use an improvised stationary mount or move a running saw into an unconventional position.
Compare the same blade and support requirements
Both machines require a compatible T-shank blade fitted through the prescribed SDS procedure. With the battery removed, seat the correct blade fully, place its back in the guide roller groove and verify secure retention. Match the working length and profile to the wood and curve. A shared shank requirement does not mean that every blade is equally appropriate for a tight turn or a square face through thick stock.
Set and secure the base at zero bevel for the initial comparison. Clamp matching samples on a stable bench, support their waste independently and leave the entire blade stroke clear underneath. Use the same reference face and comparable thickness. Check that each base can travel without striking a clamp, and that a hose cannot drag the tool sideways. Differences in support would make a comparison of handling difficult to interpret.
Account for the accessory configuration
The anti-splinter guard is restricted to the permitted zero-angle arrangement and compatible blade types. On these models the hood, extraction outlet and anti-splinter guard cannot remain fitted for bevel cutting as described in the manual. If the intended household task involves changing angles, include the required isolated accessory changes in the workflow instead of comparing only how quickly the base tilts.
For the straight samples, use compatible dust extraction, switch the blower off when extracting and provide ventilation. Wear eye and hearing protection and suitable respiratory protection. Select an appropriate speed and begin with low or zero orbital action when checking a visible edge. Support the base, keep the blade clear of the wood, start using the correct model routine and establish speed before feeding without sideways force.
Choose from observed suitability rather than a universal winner
Stop if the base lifts, the blade binds or the tool labours. Wait for the blade to stop fully before withdrawing it, setting down or checking the result. Remove the battery before adjustments or re-clamping. Compare both the upper line and lower cut edge, but also note whether the correct stop was easy to reach and whether the hose remained unobstructed through the planned route.
An acceptable sample shows that one arrangement worked on that wood; it does not establish that one model is always more accurate or safer. Consider existing verified battery compatibility, the intended upright grip and the required accessory changes. If neither tool produces the needed fit without strain or repeated correction, choose another cutting method. Keep a record of the successful setup and repeat the check when the blade, panel thickness or route changes materially.
Models referenced