
RYOBI PSBJS01: coordinate stop control and dust mode · Diagram
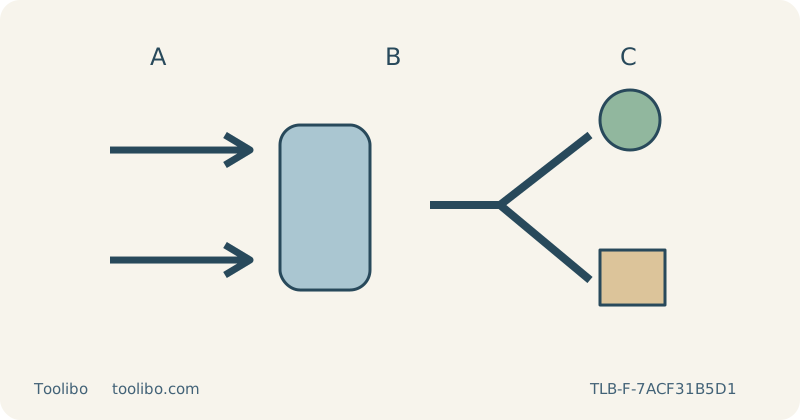
Two forward arrows mark successive switch pushes; a separate fork distinguishes two dust routes.
A
First push starts
B
Second push stops
C
Change dust mode isolated
Two forward arrows mark successive switch pushes; a separate fork distinguishes two dust routes.
Learn the stop action before arranging the hose
The US RYOBI PSBJS01 barrel-grip machine appears in the tool-only listing as PSBJS01B. Its spring-return side switch is an important difference from a conventional trigger. Pushing a side switch forward starts the tool, and the switch returns to its original position while the tool continues running. To stop it, push a side switch forward again as described in the manual, then allow the blade to stop completely.
Rehearse that routine with the battery removed. A resting switch is not a reliable visual indication that the motor is off during operation. Arrange your grip and the workpiece so the stopping action remains reachable throughout the route. A hose that covers the switch or pulls your hand away from a secure grip is a control problem, not simply an inconvenient dust connection.
Select blower or vacuum as a complete arrangement
The blower moves debris away from the cutting line; vacuum mode routes dust toward the collection attachment. These are different functions, not two levels of the same extraction setting. Before changing the mode or fitting attachments, switch off, wait for the blade to stop and remove the battery. For vacuum use, set the selector to vacuum, fit the attachment at the rear of the base and connect the suitable hose as instructed.
The checked manual permits the dust collection attachment in the beveling position, but that does not authorize unrelated accessories or remove the need to inspect angled blade clearance. Start with zero bevel for this first dust-control sample. Use only the recommended attachment and suitable extractor configuration. Do not tape an improvised nozzle to the guard or remove protective parts to make a hose fit.
Check the blade and route before reconnecting power
Fit a suitable T-shank blade with the battery removed. Follow the clamp-lever sequence, insert the blade fully and centre its back in the blade-support roller groove before releasing the lever. Verify retention and secure the base. Choose a blade suitable for the known wood and thickness, with enough usable length throughout the stroke but no overlooked collision beneath the work.
Clamp the retained sample on a stable bench and support the waste independently so that it cannot drop, twist or close the kerf. Inspect the full route underneath and above. Keep clamps outside the base path and give the hose enough slack to follow the turn without dragging across an edge. Do not place the extractor or hose where moving the saw will pull the work support out of position.
Observe mode changes without forcing the cut
The speed dial includes an A setting. In that mode, the saw begins at reduced speed and accelerates when the blade engages the work. This change is expected behaviour, not a request to push harder. Match speed and orbital action to the blade and task, using low or no orbital action as an initial trial when surface finish matters. Do not confuse the speed mode with the separate blower/vacuum selection.
Wear eye and hearing protection and suitable respiratory protection, and provide ventilation. Start the extractor as required. With the base supported and the blade clear of the wood, start the saw and feed steadily into the sample. Keep the base flat and watch whether the line remains visible without moving your face into the dust path. If the hose pulls, the base lifts or the blade struggles, stop using the correct side-switch action.
Check collection and control as separate outcomes
Wait for the blade to stop fully before withdrawing it, setting the saw down or examining the cut. Remove the battery before repositioning the hose or changing an attachment. A clear line is useful, but it is not a measurement of dust exposure or proof that filtration is adequate. If collection is poor, check accessible attachments and the extractor under their respective isolated cleaning procedures.
Keep the successful arrangement only if it also allows a comfortable grip, an accessible stop and secure work support. Do not accept a cleaner line at the cost of awkward control. Recheck the hose route when the board orientation, cut length or bevel changes. Persistent electrical, switch or blade-retention faults require service; repeatedly cycling the tool or modifying its dust components is not an appropriate remedy.
Models referenced