
Disconnected fitting, a cold attachment and separate storage
Disconnected fitting, a cold attachment and separate storage.
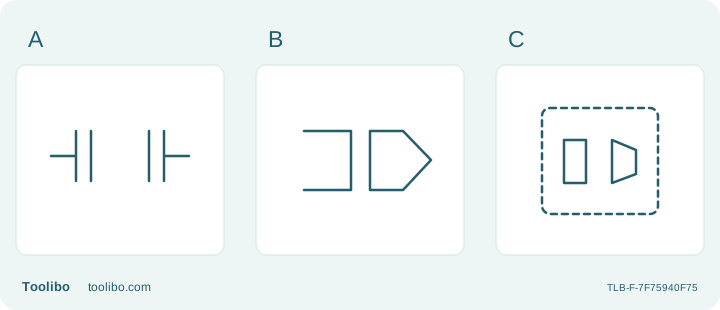
A
Disconnect only after the prescribed shutdown sequence.
B
Fit or remove an accessory only when fully cold.
C
Keep detached cold accessories separate from the work area.
Park the complete tool through cooling; remove and replace an approved accessory only when disconnected and fully cold.
Make the accessory change part of the work plan
A nozzle change should be a planned interruption, not a quick adjustment made because the first pattern is inconvenient. Choose the likely accessories while the heat gun is disconnected and cold, and arrange the work so each approved material process can finish before another attachment is needed. This avoids the temptation to pull off a hot nozzle while maintaining momentum on the job.
This guide deliberately uses a full-cooling change procedure. It does not turn gloves, pliers or a heat-resistant mat into permission to handle hot metal. The US Makita HG6530VK package links to HG6530V instructions, and the US Wagner FURNO 300 has its own accessory procedure. Read the instructions for the actual body and attachment before beginning; similar-looking collars do not establish interchangeable fittings.
Prepare a place for the tool to remain undisturbed
Before starting, identify the manufacturer’s intended standing arrangement and place it on a stable, level, noncombustible support. Leave the outlet and intake clear. Keep the power lead routed so that an ordinary movement around the bench will not pull the gun over. The cooling location should remain available for the whole session rather than becoming a convenient place to stack materials.
The hot accessory normally stays attached while the tool cools. That is the central distinction between parking a hot accessory and removing one: you are parking the complete tool in its prescribed position. Do not balance the gun on the accessory or rest the outlet against the bench. If the selected attachment prevents the prescribed stable arrangement, resolve that compatibility problem before operating rather than inventing another rest position afterward.
Finish the model-specific shutdown before the change
The FURNO 300 has two heated operating choices, so its lower switch position is not an unheated fan mode. Plan for the documented shutdown and passive cooling instead of copying a cooling feature from another model. The HG6530V has a model-specific cooling position and shutdown sequence. Follow those instructions, then switch off, disconnect and allow the tool and accessory to cool completely before this cold-change procedure.
A stopped fan is not a cold-metal indicator, and a cooling mode is not permission to touch the outlet. Observe any minimum cooling requirement in the supplied manual as well as the requirement for complete cooling. Do not shorten the process by applying water, setting the gun in a refrigerator or directing the outlet against a cooling surface. Those are not substitutes for the manufacturer’s procedure.
Remove and inspect the cold attachment
When the tool is fully cool and disconnected, follow the attachment’s removal instructions. Wagner’s FURNO 300 procedure describes removing the accessory after the tip has cooled. Work with the tool stable and the lead out of the way. If removal requires unexpected force, stop and check the specified method rather than twisting the housing or levering against the outlet.
Inspect the accessory before putting it away. Look for distortion that affects its fit, a damaged collar or contamination that obstructs the airflow path. Ordinary heat discoloration is different from a physical defect. Do not reshape a damaged accessory to recover a tight fit, and do not push tools into the heat gun’s outlet to investigate why it felt tight. An uncertain mounting problem belongs with the manufacturer or service provider.
Fit the replacement without improvising the joint
Confirm that the next accessory is approved for the exact tool and the intended material process. Fit it using the manufacturer’s procedure, then check that it is seated securely while everything remains cold. A connection that seems secure only after squeezing the collar or adding a packing layer is not an acceptable fit. Select a correct undamaged accessory instead.
Recheck the intended air path and physical clearance. The new nozzle may project farther, spread the stream differently or place hot metal nearer the object. The earlier sample result does not automatically transfer. Repeat the relevant material trial under permitted conditions, and record the new accessory with the operating settings. If changing nozzles creates an unmanageable clearance problem, change the method rather than holding the work closer by hand.
Separate readiness to resume from readiness to store
Before reconnecting, remove the detached cold accessory and any inspection tools from the work area, confirm the operating control is off and restore the clear cooling location. A careful change can still be undermined if the old nozzle rolls under the object or the lead catches on a newly placed box. Rehearse the next movement once with the gun cold.
At the end of the session, storage is a separate decision. Follow the supplied manual’s full cooling requirement before returning either the tool or the accessory to a case, pouch or drawer. Keep only sound, correctly identified accessories with the tool. A simple note identifying a questionable fit is more useful than leaving the part in the kit where the next user may assume it has already been checked.
Models referenced