
Hex width alone does not establish fit
A hex cross-section, two shanks with different shoulder locations, and a sleeve insertion check show why width alone is insufficient.
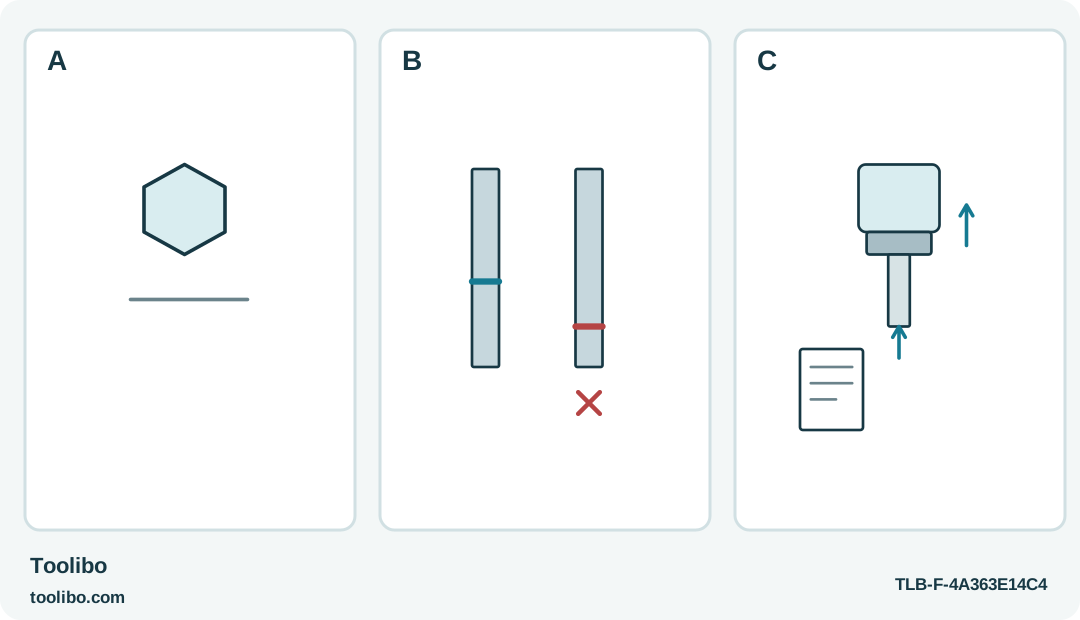
A
Identify the export 220USB-1E and its specified bit geometry, not merely quarter-inch hex width.
B
Different shoulder and end arrangements can prevent correct retention despite similar widths. No dimensions are inferred here.
C
Insert fully with the sleeve operated as instructed, release it and check retention gently; never file or force a shank.
A solid hexagonal shank can have different shoulder locations, so similar width does not prove that a bit will lock into this holder.
A hexagonal shank is only part of the fit
Two bits can share the same width across their hexagonal flats and still behave differently in a quick-release holder. The shoulder position, retained length and end geometry determine whether the sleeve can lock the bit and release it normally.
That distinction matters on the VESSEL 220USB-1E covered by the English export instructions. Do not transfer bit compatibility from the US 220USB-1U, another 220USB suffix or a generic bit set merely because the package says quarter-inch hex. Identify the exact device before choosing accessories.
This is an accessory-fit check for non-electrical household work. It does not qualify the screwdriver or its bit for working on circuits, and it does not turn a familiar screwdriver shape into an insulated electrical tool.
Compare the mounting shape, not just the tip
Start with the specified mounting diagram for the 220USB-1E and the information supplied with the candidate bit. Compare the entire retained section, including the shoulders and the distance to the end. Keep the diagram’s dimensions associated with their actual reference points rather than treating a pair of numbers as a universal bit length.
The driver-bit tip designation answers a different question. A PH, slotted or other working end can be correct for the screw while its shank is wrong for the holder. Check both ends of the accessory separately.
If the bit packaging does not identify its mounting geometry clearly, choose a positively compatible accessory instead of trying it by force. Do not shorten, file or grind a bit to imitate another retention profile. Such a modification can create a fit that looks plausible but fails during removal or use.
Install with the motor inactive
Disconnect charging equipment and keep the operating switch released while fitting the accessory. Slide the sleeve forward, insert the specified bit fully and release the sleeve. Keep the working point clear of your hand, the bench and other people.
Move the bit gently back and forth as instructed to confirm that it is locked. It should not need to be held in place by pressing against a screw. If it will not seat or release normally, stop and recheck the actual bit specification rather than cycling the motor to shake it into position.
Work above a clear surface so a released bit cannot drop into machinery, an electrical enclosure or a cluttered drawer. The holder is small, and a lost accessory can turn a simple preparation task into an awkward retrieval problem.
Check useful reach without partial insertion
A long bit can improve reach only if its mounting section is correctly engaged. Leaving a bit partly inserted to gain a little more clearance defeats the very retention geometry you have just checked. Do not use that as a substitute for a properly specified accessory.
With the tool inactive, rehearse the complete approach to the screw. Check that the grip and body clear nearby surfaces and that the tip remains straight through the intended travel. The final screw-head position matters as much as the starting position.
If access is still poor, use another suitable tool or alter the assembly position. An accessory that fits the holder is not automatically suitable for every space, and an accessory that reaches the screw is not automatically compatible with the holder.
Use and store the identified combination
For a controlled fastening, seat the correct tip fully and operate along the screw axis. Release the switch before any manual finishing movement. Do not combine motor operation with twisting the grip by hand, and stop if the bit slips or the joint resists unexpectedly.
After use, allow a warm bit to cool before removing it through the intended sleeve action. Keep compatible bits identified together rather than mixing them anonymously with accessories for different holders. Retain the packaging or a clear note of the specification that established compatibility.
A normal lock-and-release cycle is part of the result you want. If an accessory becomes stuck or the sleeve no longer behaves normally, do not use pliers, impacts or internal disassembly as a routine remedy. Obtain the appropriate service guidance. The cheapest-looking interchangeable bit is not a useful bargain when its mounting geometry is uncertain.
Models referenced