
Axial pressure is an operating command
A downward axial arrow at a supported screw, an upward release arrow with a lock, and a separate adjustment symbol distinguish starting, stopping and setup.
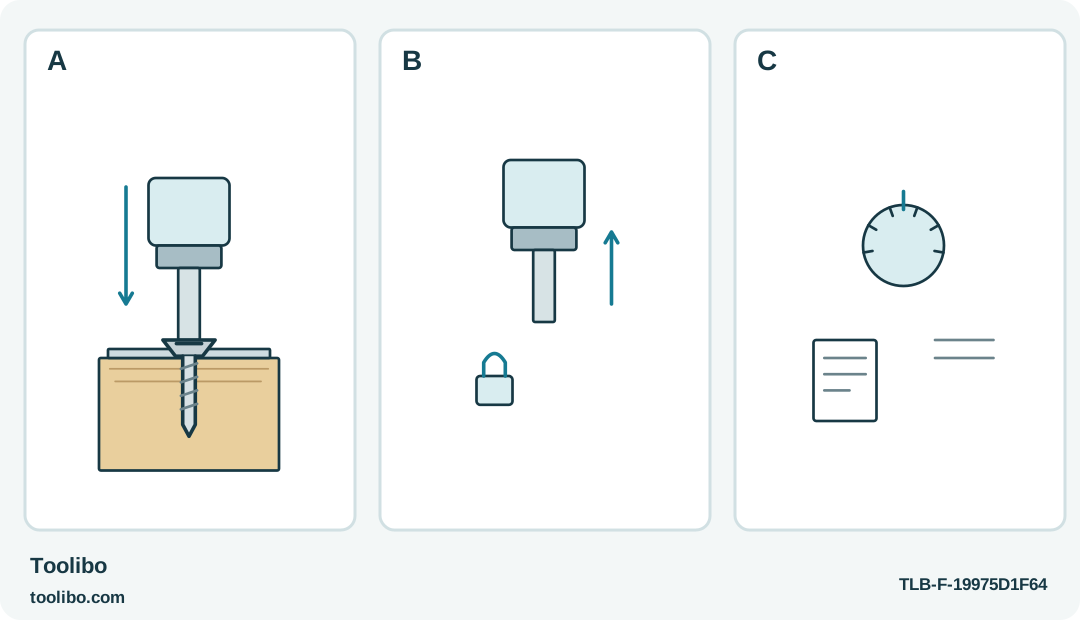
A
Axial pressure starts rotation only in the prepared fastening setup; never test activation against a hand.
B
Remove axial pressure to stop, then use middle-lock before setup or carrying.
C
Select from the six documented torque stages and test the actual joint; obey the double-ended-blade restriction.
Pressure along the shaft is part of starting this tool, so positioning and releasing it must be rehearsed before approaching the finished joint.
Understand what counts as the start control
With the Great Britain Bosch PushDrive, pressing the tool along the screw axis starts the motor. There is no conventional trigger squeeze to separate positioning from powered driving. This can feel convenient on a clear, supported screw, but it changes how you should handle the tool while moving around a furniture assembly.
First practice the sequence without working on the finished fitting. Know where the forward/reverse selector is, how its middle lock position feels and how to remove axial pressure promptly. Do not test the activation by pressing a bit against your palm or another person’s hand.
Choose a non-electrical task with a visible screw and stable work. A pressure-activated motor is not a reason to lean into a screw you cannot see. If the tool must be held awkwardly just to reach the head, change the position of the work or use a more suitable driver.
Prepare the bit with the motor locked
Move the selector to its middle lock position before changing the bit. Select the correct recess pattern and size, and inspect the working end for damage. A bit that almost fits can still turn a lightly loaded screw, then climb out as the load rises near seating.
Use a compatible bit rather than assuming that any hexagonal accessory is acceptable. The PushDrive instructions specifically exclude two-sided blades longer than 25 mm. Do not try to work around an unsuitable bit by seating it only partway or by adding an improvised sleeve.
Fit the bit fully and check it according to the tool instructions while keeping the motor locked. Arrange the loose screws so you can identify the correct length without holding several in the same hand. A correctly controlled driver cannot rescue a screw that is too long for the furniture panel.
Start with a low torque trial
PushDrive has six torque stages. Begin with a low setting for a small screw or soft material, then make a trial using the actual screw and a representative spare piece where possible. The setting is established by the observed joint, not by copying a number from another brand.
Follow the furniture instructions for the screw’s final position. Some heads seat flush, while others bear on a bracket or washer. Do not treat “flush” as a universal instruction to drive every screw deeper. Check that mating parts are aligned before power is applied, rather than using the screw to pull an obviously misplaced assembly into position.
Start the fastener squarely. Bring the bit into full engagement with the selector still locked if you need to adjust your grip, then choose the required direction only when you are ready. Keep the work supported so that the pressure needed to activate the tool does not tip a small part or force it out of alignment.
Drive, stop and look at the result
Apply controlled pressure along the screw axis. Keep the bit straight and watch the head as it approaches its final position. The selected torque stage stops the application tool at its threshold, but you should still remove pressure and inspect the joint rather than pressing repeatedly to obtain one more movement.
If the bit slips, the screw leans or the parts separate, lift the load from the activation direction and stop. Put the selector back in the middle before correcting the setup. Do not grip a turning fastener with your fingers or attempt to steer it sideways while the motor is running.
When the tool reaches the selected stage before the screw is correctly seated, check the cause. An incorrect screw, damaged recess, misaligned joint or unsuitable pilot preparation needs attention before simply choosing a higher stage. Increase a setting only through a controlled trial consistent with the material and assembly instructions.
Distinguish protection from permission to push harder
An overload or unsuitable temperature can interrupt operation. Remove pressure, stop the task and let the tool return to the conditions specified for use. Repeated attempts against the same obstruction are not a useful diagnostic method and can damage the screw or tool.
Not operating while connected for charging is normal for this model. Disconnect the charging arrangement before a working trial; do not treat the cable as a way to run through a depleted battery. If a properly charged, undamaged tool still behaves abnormally on a light suitable task, use authorized service instead of opening the internal battery assembly.
At the end of the session, center-lock the selector before carrying or storing PushDrive. The important habit is simple: pressure should mean “I am ready to drive,” not “I am finding somewhere to put the tool.”
Models referenced