
M4 pack engagement is platform-specific
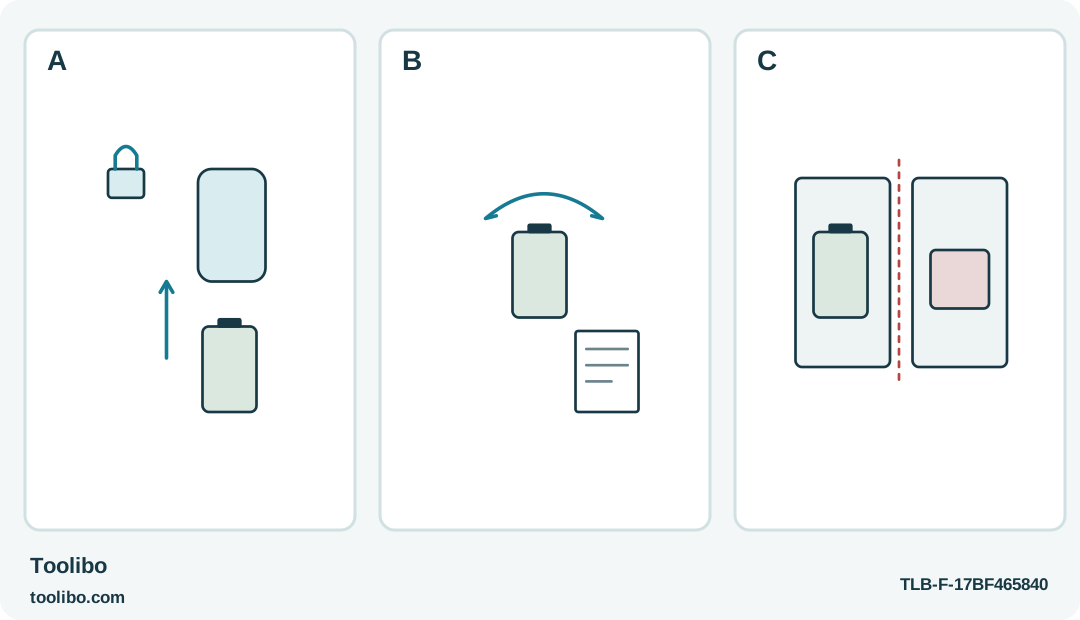
A locked tool and separate pack, an unoriented engagement arc beside instructions, and divided incompatible pack shapes explain battery fit.
A
Lock the switch before inserting the specified M4 pack.
B
Follow the manual’s insertion-and-rotation engagement; the arc does not prescribe clockwise or counterclockwise movement.
C
Do not substitute M12 or another platform. Pack retention and the low-gear fastening setup are separate checks.
The engagement sketch is conceptual: use the actual M4 instructions for the locking movement, and keep other battery platforms separate.
Check the simple assembly before guessing
A Milwaukee 2101-20 that does not run immediately after a battery change may have an incompletely engaged pack. The M4 battery system uses insertion followed by rotation into its locked position. That is different from a battery that simply slides along rails until a latch clicks.
Start with the exact US 2101-20 and its intended M4 battery. Do not assume that a small Milwaukee pack from another family is interchangeable. M4 and M12 are different systems, and a similar brand color does not make their batteries compatible.
Keep the tool away from the work while checking it. Remove your finger from the operating control, engage the separate lock switch and place the driver on a clear bench. A screw partly started in furniture is not a good place to discover that the power connection was incomplete.
Inspect the outside connection
Remove the battery using its intended release movement and inspect the accessible pack and connection. Look for obvious damage, contamination or an obstruction that prevents normal seating. Keep loose screws and metal scraps away from the exposed battery contacts.
Do not bridge contacts with a tool, add foil or a spacer, or bend a connection in an attempt to make the driver run. Those actions do not establish a correct lock and can create an electrical hazard. A visibly damaged pack or tool connection needs the proper service route.
Use only the specified battery and charging system. If the pack’s identity is unclear or the intended movement is uncertain, consult the matching instructions before applying force. A connection designed to rotate should not require a hammer, pliers or a clamp to complete its travel.
Insert and complete the lock deliberately
With the operating control released, insert the correct battery and rotate it into the documented locked position. Follow the actual orientation shown for this tool rather than applying a generic direction remembered from another product.
Check that the pack is properly retained before holding the driver in a working grip. If it remains loose or will not reach its intended position, remove it and reassess the outside fit. Do not hold it in place by squeezing the tool during operation.
Keep this check distinct from charging. A correctly locked but depleted pack may still require a normal charge; a charged but partly locked pack may not operate. Changing both conditions at random makes it harder to know what solved the problem and can hide a damaged connection.
Test the driver without returning to the obstruction
Once the battery is correctly fitted, make a brief normal function check clear of the furniture. Unlock only when ready for the check, select an appropriate direction and release the control to stop. Lock the switch again before adjusting the setup. Do not use the first test to force a screw that previously stalled or slipped.
For a fastening trial, secure the sample, fit the correct retained bit and start in low gear with a conservative numbered clutch setting. For wood, the manual recommends a #6 wood screw with a full pilot hole as a practical limit. In high gear, use clutch 10 or below. A working battery lock does not remove those limits or turn the clutch scale into a calibrated torque value.
Observe the actual joint. If the motor runs normally but the screw does not advance, inspect the screw, bit and material. If the driver remains silent with a correctly engaged, suitably charged and undamaged battery, stop repeating the same assembly attempt and use the manufacturer’s troubleshooting or service guidance.
Keep faults and handling habits separate
An intermittent connection, abnormal heating, a damaged case or a pack that does not remain securely retained is not something to work around by changing your grip. Stop using the affected equipment. Do not open the battery, charger or tool to inspect its internal wiring.
Remove the battery before changing accessories or performing the owner-level care allowed by the instructions. Store it so its contacts cannot meet loose conductive objects. Keep the M4 charging equipment identified, especially if other battery platforms are stored nearby.
The lock check is useful because it is simple and observable. You can confirm the correct pack, normal insertion, intended rotation and secure retention without inventing an internal diagnosis. Once those checks are complete, move on to the appropriate battery or service question rather than turning repeated force into a troubleshooting method.
Models referenced