
Separate low-gear trials, separate systems
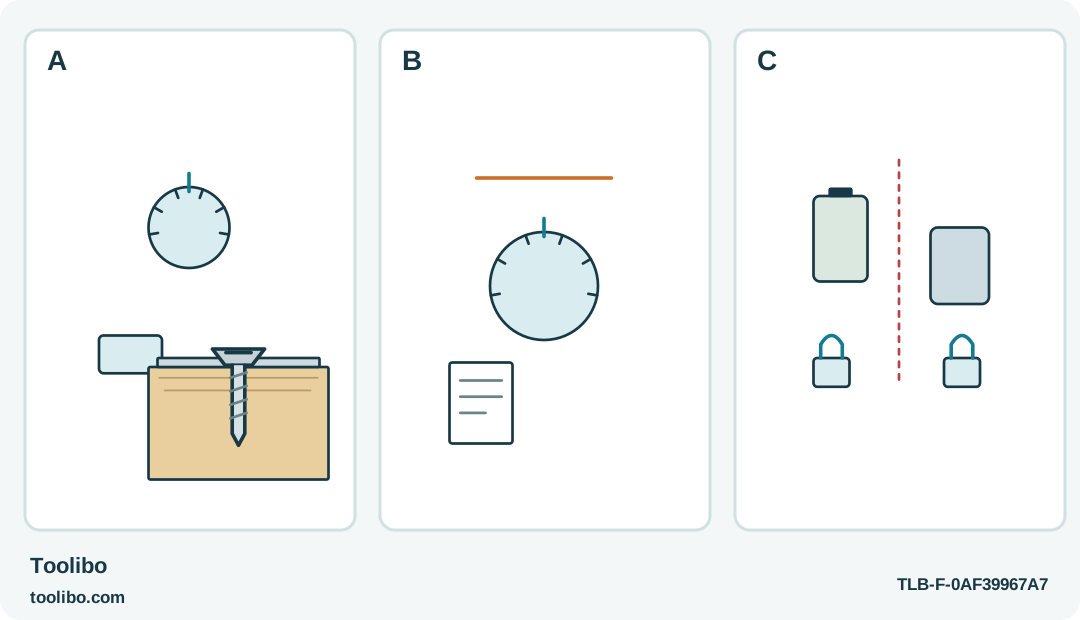
Separate gear and clutch symbols above a joint, a high-gear boundary with instructions, and divided battery systems show why settings cannot transfer.
A
Use low gear and an appropriate numbered clutch for each matching trial; Makita’s drill-symbol bypass is excluded.
B
High-gear limits differ: M4 permits clutch 10 or below; Makita’s chart does not admit every numbered position in high gear.
C
The batteries and retention methods are not interchangeable; lock and remove each specified pack before setup.
Separate low-gear sample joints are more useful than matching clutch numbers; battery fit and high-gear stopping rules remain specific to each tool.
Define what “repeated fasteners” means
A row of small screws in identical non-electrical fittings can make a geared, clutched screwdriver attractive. Before comparing the US Makita DF012D and Milwaukee 2101-20 M4, establish whether the screws, material and final seating condition really are the same from one position to the next.
A furniture kit with several different screw lengths is not one repeated operation. Sort those fasteners and follow the assembly instructions rather than choosing one tool setting for the entire box. Keep work supported and avoid using either compact driver for a stuck screw or a structural fastening task outside its intended scope.
The comparison is about documented controls and handling. It does not rank measured fastening speed, durability or calibrated torque, and it does not count different battery-kit packages as different tool bodies.
Compare clutch and gear habits
The DF012D has two gears and numbered clutch positions 1 through 21. Its drill symbol bypasses the clutch and should not be treated as another careful-tightening position. For the controlled trial, use gear 1, low speed, and a conservative numbered clutch setting. Stop the motor before shifting and fully engage the gear lever. Do not assume automatic stopping across every high-gear setting: Makita’s chart marks high-gear operation at 1, 5 and 9, but not at 13, 17 or 21.
The Milwaukee 2101-20 also combines two gears with a numbered clutch, but its high-gear use has a specific boundary: use clutch 10 or below. Do not assume that matching ring numbers on the two tools represent the same torque or permit the same gear combination.
Start the Milwaukee trial in low gear too. For wood, its practical recommendation is a #6 wood screw with a full pilot hole. Follow the exact screw and material requirements rather than assuming the clutch makes every furniture fastener suitable. For either driver, watch what happens at the joint. A clutch stop can occur before a fitting is properly seated if something is wrong, and a higher number can damage the material without solving an alignment problem. The sample needs to demonstrate the required result, not merely that the motor stops.
Include battery engagement in the routine
On the Makita, remove the appropriate battery before fitting or changing accessories and confirm correct reinstallation before operation. Keep the DF012D device identity separate from the DF012DSE package designation when selecting parts and instructions.
The M4 pack uses its intended insertion-and-rotation locking arrangement. A partially engaged pack may leave the tool unable to run. Confirm the proper locked position rather than holding the battery harder or confusing it with the M12 platform.
If you change batteries during a sequence of fasteners, use that pause to inspect the bit and the last joint. A fresh pack should not become a reason to ignore a worn recess, damaged accessory or a change in the feel of the assembly. Use only the specified charger and battery system for each tool.
Compare access with the bit installed
A compact body is only one part of the working length. Fit the proper retained bit and rehearse the approach with the motor inactive. Check clearance for the handle, your hand and the tool’s withdrawal after the screw reaches its final position.
Before adjusting the grip, release the control, engage the tool’s lock and remove its battery; on the Makita, the locked lever position is B. Keep fingers clear of pivot areas. Do not move a handle or change a gear while the bit is loaded in a running screw. A setup that requires constant wrist strain can make a long sequence less controlled even if the tool appears small on paper.
Inspect the bit’s shank compatibility and retention independently of its tip fit. Remove the battery for accessory changes, allow the holder sleeve to return normally and perform the prescribed retention check. A loose bit does not become acceptable because you intend to use it only on a few screws.
Run the sequence with visible checks
Make a trial using representative material and the actual screw. Record the relevant setup for that particular joint, then inspect the first finished fitting before continuing. Recheck when the material, fastener or assembly step changes; do not extend the earlier setting by habit.
Release the operating control when the clutch stops the motor or when unexpected resistance appears. Do not repeatedly pulse an obstructed screw, jump to the drill symbol or increase torque simply to keep the sequence moving. A stripped hole or crushed bracket creates more work than a short inspection pause.
Choose between these drivers by the setup and handling routine that fits your work, together with the correct battery system you can maintain. Their adjustable controls are useful when they make a proven process repeatable. They are not a replacement for observing each fitting’s actual condition.
Models referenced