
High gear has a separate clutch boundary
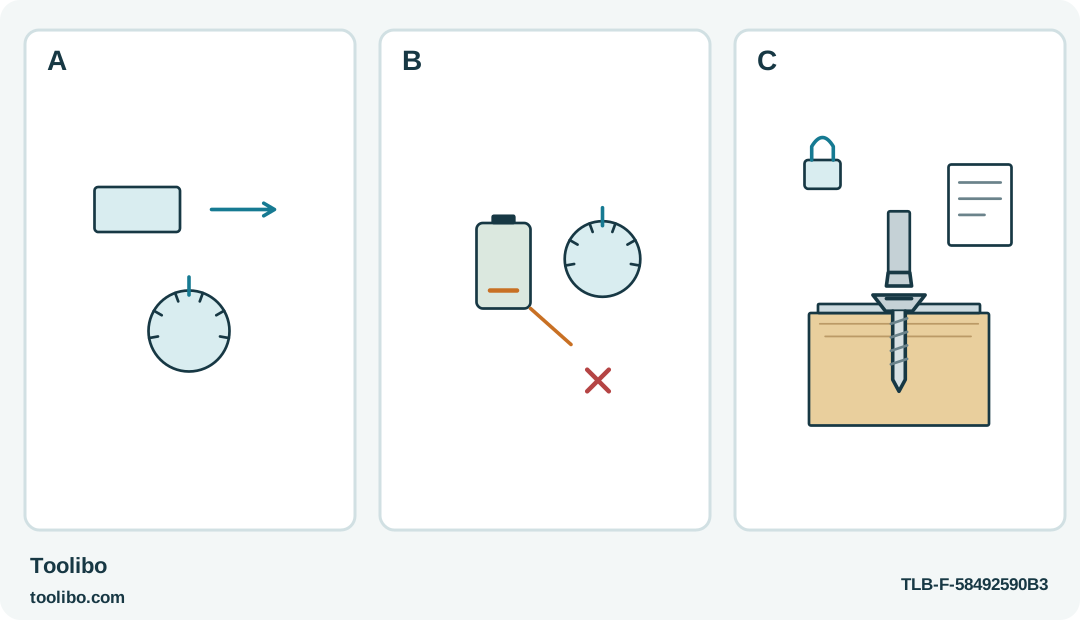
A separate gear selector and ring, a low-charge pack beside a crossed stop assumption, and a supported trial show the high-gear conditions.
A
On the EY7410, high gear requires clutch setting 10 or below; choose gears while stopped.
B
Low battery power can impair automatic shutoff at high settings. A ring position is not a stop guarantee.
C
Use a conservative matching trial and observe the seat. Lock and remove the battery before accessory changes.
Gear, clutch and battery state affect stopping together; an apparently familiar ring setting cannot replace the model-specific high-gear check.
Start with the screw and material
The Panasonic EY7410 offers a numbered clutch and a choice of speed, but those controls are not independent promises of a perfect joint. A screw in soft timber, a small machine screw in a prepared thread and a screw bearing on a delicate fitting can reach their useful endpoints in different ways.
For the European EY7410 considered here, begin with an ordinary, accessible, non-electrical fastening task. Identify the specified screw and its final position from the fitting instructions. Make sure the parts already align instead of expecting the screw to pull a distorted assembly together.
Where representative spare material and a matching screw are available, prepare a trial. The aim is to find a setting that produces the required joint without damaging its surfaces. A numbered ring is not a substitute for checking the actual result, and the tool is not being used here as a calibrated torque wrench.
Respect the high-speed restriction
When using high speed, the EY7410 instructions call for clutch setting 10 or below. Do not choose a high clutch number simply because a screw did not finish in high gear. That can move the tool outside the intended combination of controls rather than solve the fastening problem.
Set the speed with the motor stopped. Begin with a conservative clutch setting appropriate to the trial and keep the screw visible while driving. If the selected combination does not suit the job, stop and reassess the speed, screw, material and preparation together.
A slower suitable setup can be more useful than a fast one that repeatedly interrupts or damages the recess. This is especially true for a short household task where the seconds saved in free-running travel are small compared with the time required to repair a spoiled fitting.
Make the trial show you the endpoint
Secure the sample and use the correct retained bit. Before changing accessories, remove the battery and lock the switch. Fit the bit through the chuck collar as instructed, allow the collar to return and check that the bit does not pull free.
Start the trial screw squarely. Operate deliberately and inspect what happens at the selected clutch threshold. A correctly seated fitting is the useful result; a stopped motor alone does not tell you whether the screw is fully seated, obstructed or being driven into the wrong material.
Adjust only after looking at the sample. If the head remains above its intended position, rule out a damaged recess, unsuitable screw or misaligned pilot before raising the setting. If the fitting is crushed or the material splits, increasing the setting is plainly the wrong direction. Change one relevant variable at a time so the next trial tells you something.
Keep battery condition in the decision
The automatic shutoff function may become inoperable at high clutch settings when battery power drops. That is an important reason not to treat the clutch as an unattended endpoint. Continue watching the joint and release the control if the result is no longer normal.
If the battery needs charging, stop and charge it using its specified system. Do not repeatedly demand another screw from a depleted pack while assuming that the same automatic behavior will continue. The battery warning and protection features are information to act on, not obstacles to work around.
After charging, repeat a suitable trial if the previous fastening behavior was uncertain. A fresh charge does not erase a damaged bit, a stripped hole or an incorrect screw. Check those items separately before returning to the finished work.
Use a repeatable setup without pretending it is universal
For several identical fittings, keep the same screw type, material preparation, gear and proven clutch setting. Inspect the first completed joint and continue checking periodically. If the material or hardware changes, the earlier trial is no longer an exact match.
Stop on unexpected resistance, slipping or abnormal tool behavior. Do not hold the trigger through a stalled drive or use the drill position to defeat a tightening limit on a delicate joint. When the job requires a specified measured torque, use the appropriate controlled method rather than translating a clutch number into a guaranteed value.
Lock the main switch after use and keep the correct battery and instructions with the tool. The EY7410’s adjustments are useful when they support an observed fastening process. They are less useful when the numbers become a shortcut around inspecting the work.
Models referenced