
Clean the outside and sort what you find
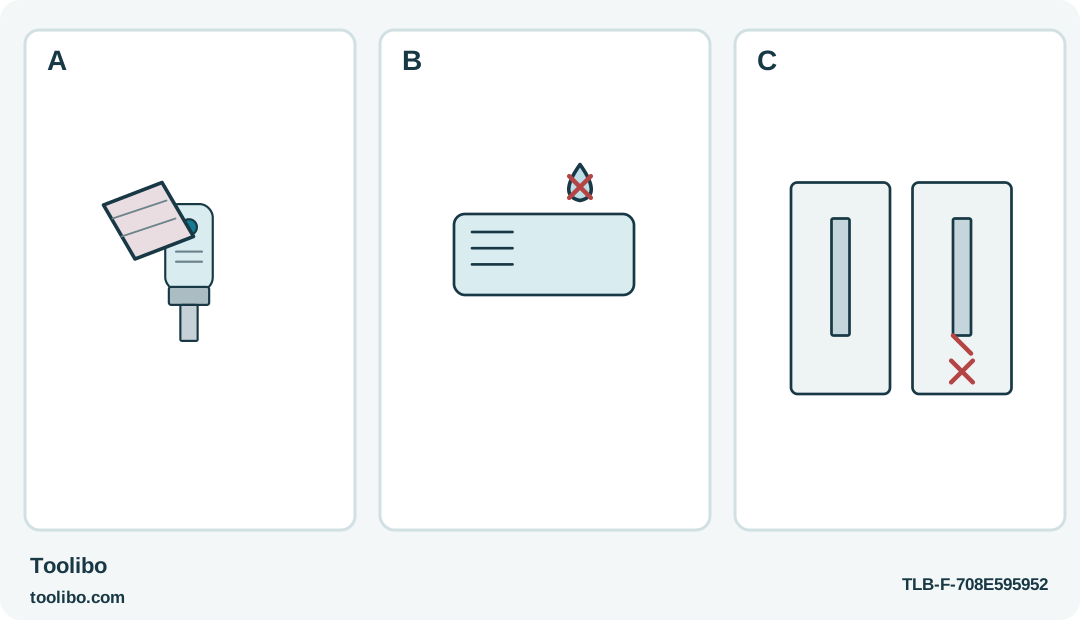
A dry exterior cloth, a crossed liquid drop above ventilation slots, and separate sound and damaged accessory trays show the cleanup boundary.
A
With charging disconnected and rotation stopped, use the specified dry cloth on exterior surfaces.
B
Do not wash, spray chemicals, add oil or push debris through openings. Persistent cartridge resistance is not a lubrication instruction.
C
Separate sound identifiable bits from damaged tips before storage; a failed holder needs service, not tape.
External wiping and sorting damaged accessories keep cleanup useful without turning it into washing, lubrication or work inside the housing.
Clear the work before cleaning the tool
Flatpack assembly often leaves a mixture of cardboard fibers, wood dust, spare screws and bits on the bench. Start by separating those materials rather than placing the screwdriver directly into the pile. Put unused fasteners back with their labels and remove the finished furniture from the cleaning area if possible.
This routine concerns the exterior of the WORX WX240L and WX255L after an ordinary dry household task. It is not a treatment for liquid contamination, adhesive inside a housing or a tool that has been dropped and damaged. If the tool behaves abnormally, set it aside for service rather than assuming cleaning will cure the fault.
Stop and isolate the normal controls
Release the drive control and wait for rotation to stop. Disconnect the charging lead before cleaning. On the WX255L, use the forward/reverse lock position. Keep the WX240L drive buttons untouched while handling the holder and exterior, and let a warm accessory cool before removing it.
Choose a clean section of the bench where a loose bit cannot roll into the furniture or onto the floor. Do not clean with the tool resting on its buttons or balanced against an edge. A simple stable arrangement makes it easier to keep hands away from the bit and to notice any missing or damaged part.
Wipe surfaces without driving dirt inside
Use the dry-cloth exterior method specified for these tools. Work around the handle and body, then check that ordinary dust is not obscuring controls or ventilation openings. Remove only accessible surface debris without pushing it deeper into the housing. Do not insert pointed objects into slots or use the bit as a cleaning probe.
Water, chemical cleaners and added lubrication are not part of this routine. Do not spray the control area, soak a cloth in solvent or apply oil because a mechanism looks dry. If dirt cannot be removed by the permitted external method, leave it for appropriate service advice. A clean-looking housing is not worth damaging seals, plastics or internal components.
Give the WX255L cartridge its own inspection
The WX255L stores bits in a cartridge, so its accessory check differs from the WX240L’s direct arrangement. With the tool stopped and locked, inspect the accessible cartridge and slide-cover area according to its normal setup instructions. Do not force the cover or rotate the cartridge against resistance.
If the cartridge does not rotate during a normal bit-selection operation, the cover must be in its specified fully open position beyond the red line. That is a setup check, not permission to pry the mechanism open. If a correctly operated clean mechanism still will not move normally, stop using it and seek advice rather than adding oil or filing an edge.
Sort the bits by condition, not convenience
Look at each removed bit in good light. Separate a worn or twisted tip from sound accessories so it is not selected automatically on the next job. Keep the bit’s size and profile identifiable; two tips that look similar at a glance may fit different recesses. A damaged tip can spoil a new screw even when the driver itself works normally.
Check the holder’s ordinary retention behavior only with a compatible bit and the control disabled. Do not modify a shank to make it fit, use tape to tighten a loose fit or leave an insecure bit installed for storage. If the holder itself cannot retain the correct accessory, that is a service issue rather than a reason to keep searching for a slightly thicker bit.
Put away a tool that is ready to be recognized
Store the cool, dry tool in a place where loose screws cannot press its controls or damage the charging connection. Keep the correct charging equipment identified with it, but disconnect after the charging procedure rather than using the storage drawer as a place for an unidentified live connection.
Before closing the case or drawer, note anything that needs attention: damaged cable, sticky control, loose housing or recurring cartridge trouble. Do not bury that observation under the remaining kit hardware. A short cleanup is successful when the next user can find the correct accessory and recognize the tool’s condition, not merely when the visible dust has disappeared.
Models referenced