
Core 140 Home attachment planning
For UK 128471264: verify the 6 m reel and Compact patio bundle, interpret levels 1–3 and separate paving from furniture work.
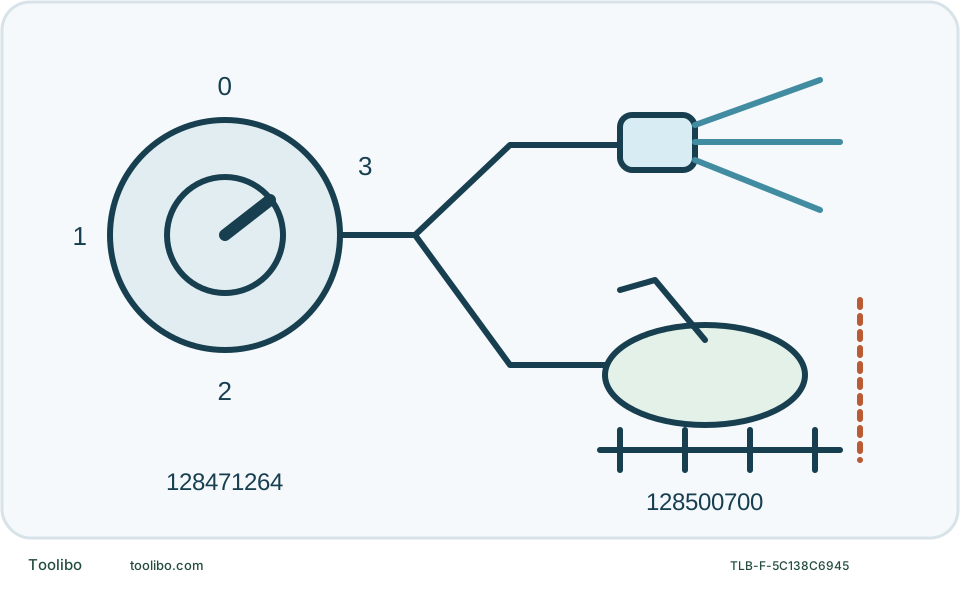
Identity
128471264 has a 6 m reel and Compact patio 128500700.
Control
Positions 1–3 are working levels, not declared bar values.
Surface
A suitable material and successful test patch remain necessary.
A Home bundle adds an identified accessory; its level chart does not override the surface maker or a failed test patch.
Why the Home suffix and product number matter
This is Core 140-6 PowerControl Home UK, product 128471264. The verified listing specifies a 6 m Ultraflex hose on an internal reel, a machine-mounted pressure control and a Compact patio attachment. It is not the standard Core 140 package merely described in more enthusiastic language. Nor should its hose length be silently replaced by the 8 m specification now shown on a different Core 140 shop listing.
The Home bundle identifies Compact patio 128500700, foam sprayer 128500077 with a 450 ml bottle, G3 gun with intermediate tube 126481132 and cleaning tool 6520844. Use those numbers to check the delivered package. A patio-cleaner photograph in a family advertisement does not establish that the accessory is included with another SKU. Conversely, losing the Home attachment does not make a random aftermarket cleaner an approved substitute.
Maximum pressure is listed as 140 bar. This is not a measured result for a particular patio, nor a universal surface setting. The model-specific benefit is the combination of a reel, a matched Home accessory and a three-level machine control. Whether that helps depends on the cleaning area and storage route, not the number alone.
Read the control with the attachment chart
The Core 140 PowerControl quick-start guide shows machine positions 0, 1, 2 and 3. Position 0 is off. The three working levels are not labelled as fixed bar values, so do not convert a level into an invented pressure specification.
Swipe or scroll horizontally to see all columns.
| Attachment and example in the quick-start chart | Indicated level | How to use the information |
|---|---|---|
| Gentle nozzle, bicycle symbol | 1 | A starting reference, not permission for every bicycle component |
| Gentle nozzle, fence symbol | 2 | Still inspect coating and joints |
| Gentle nozzle, car symbol | 3 | Still respect vehicle and surface limitations |
| Patio cleaner, decking symbol | 2 | Material-maker approval remains necessary |
| Patio cleaner, paving symbol | 3 | Use only on a sound, suitable area |
These pictograms do not certify a delicate painted fence, an e-bike battery enclosure or damaged decking. If the surface manufacturer prohibits pressure washing, the accessory chart does not override that prohibition. A level choice also does not replace a test patch. Stop if the finish, fibres or joint material change.
Plan a mixed patio-and-furniture session
Suppose the job includes sound paving and coated garden furniture. Divide them into separate tasks rather than keeping the patio attachment fitted and trying to clean everything with it. Clear grit and movable objects from the paving, and choose a route that does not require stepping backwards over the hose or onto a slippery edge.
Place the machine upright on stable ground. Pull out the required pressure hose without forcing the reel or dragging the machine. Keep the inlet hose and electrical lead out of the route used for the cleaner. The 6 m pressure hose is not a guarantee of 6 m useful reach around every corner: account for the route, the operator’s position and slack at the connections.
For furniture, return to an appropriate gentle method and test an inconspicuous area. Where seals, openings or fragile coatings make spray unsuitable, use a cloth or low-pressure rinse instead. The ability to lower a machine setting is not a promise that pressurized water is harmless.
Connect, prime and change attachments deliberately
- Inspect the lead, pressure hose, gun, lock and couplings. Do not use damaged equipment. Check the actual nameplate and use the local approved electrical and water arrangements, including required backflow protection.
- With the machine off, connect clean water. The illustrated tap setup is limited to 40 °C and 1 MPa/10 bar inlet pressure. Open the water and squeeze the unlocked trigger until flowing water clears the air.
- Release the trigger, select the intended working level and point the gun safely before spraying. Keep both hands on the gun/lance and keep other people out of the spray and debris area.
- For an attachment change, switch off, unplug safely, close the water and discharge pressure toward a safe place first. Use the Click&Clean release only after that isolation. Fully seat the next approved attachment before restarting.
- Begin on the test area, inspect the result and only then continue the section. Do not lift a running patio attachment to watch the jets or aim it at loose gravel.
Treat the reel and automatic stop as conveniences, not protections
The reel is storage equipment, not a way to force a kink through a guide or pull the washer upstairs. After shutdown and pressure release, inspect the hose while putting it away. Stop winding if the hose snags; correct the route without tension on the coupling.
Autostop stops the motor on trigger release. It does not remove the electrical supply, and a trigger lock does not drain the pressure hose. Leave the machine switched off and unplugged when unattended, during attachment changes and after the job.
If a connection leaks, the attachment will not latch, the jet pulses or the machine repeatedly behaves abnormally, stop and perform only the external checks described in the matched instructions. Do not dismantle the reel, gun valve or pump to make an unmatched part work. Damaged hose fittings, electrical faults and persistent leaks belong with approved service. Store drained and frost-protected, with the accessories identified for the next session.
Models referenced