
Five checks before power
Five numbered pictograms show workholding, battery removal, bit seating, controls and a stop decision.
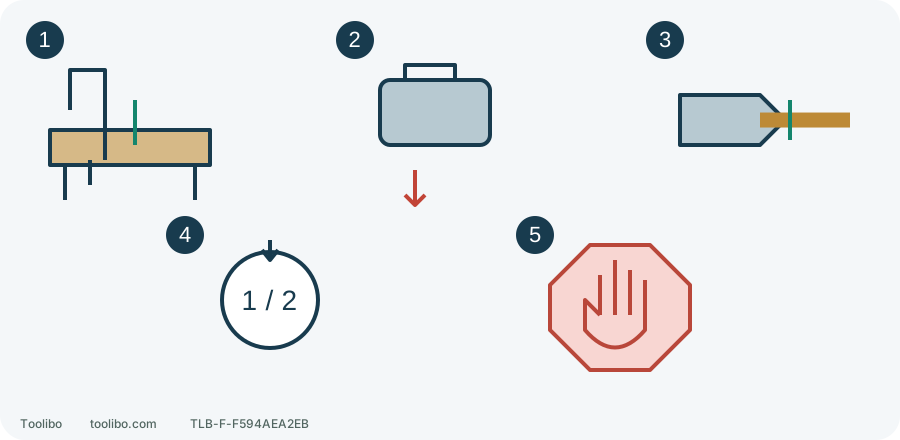
1. Workholding and protection
Clamp the work and clear the bit exit.
2. Battery removed
Inspect tool, pack and accessory without power.
3. Bit seated
Grip the shank evenly and tighten by hand as specified.
4. Controls and grip
Choose mode, range and direction with rotation stopped.
5. Stop plan
Pause for movement, binding, loss of grip or abnormal symptoms.
Complete the checks in order before reconnecting the battery.
1. Prepare the area and protection
Choose a stable, well-lit bench and move loose screws, cables and other obstacles out of the bit path. Clamp the wood; do not hold a small piece in one hand while drilling with the other. Fit a sacrificial backing board against the exit face, then check below it: the bit must not reach a clamp, bench structure or hand.
Wear eye protection suitable for flying chips and arrange dust control and hearing protection for the task. Secure hair, jewellery and loose sleeves. You must still see the mark clearly and hold the tool securely; solve poor lighting or obstructive equipment before starting.
2. Inspect with the battery removed
Release the trigger, wait for a complete stop and remove the battery. Keep it away from loose metal. Look for a cracked housing, damaged chuck, stuck or loose controls, and damage to the battery shell or latches. Do not proceed with swelling, leakage, battery damage or an unreliable switch.
Check the bit for bending, chipped edges and shank damage. It must suit wood, fit the chuck and stay within the tool’s and accessory’s capacity. Match tool, charger and battery models separately; a shared brand does not establish compatibility. This is an external stop-check, not a diagnosis of internal parts.
3. Fit the bit without power
Open the jaws and insert the sound gripping shank straight along the chuck axis, keeping the jaws off the flutes. Tighten by the chuck’s hand-operated method and inspect from the side. Do not power the motor while holding the sleeve or add pliers for leverage.
For the ratcheting keyless chuck on Milwaukee 3403-20 and 3404-20, follow bit installation and removal. Its particular insertion-depth instruction is not a rule for every chuck. Reseat if a gentle pull reveals obvious sliding, the jaws grip unevenly or the bit sits crooked. Stop if the problem remains.
4. Choose controls and grip
Use ordinary drilling mode for wood, not hammer mode. Select the mechanical range required by the bit and task only after rotation stops, and seat the selector fully rather than between ranges. Choose the forward direction; the centre lock is generally for preventing accidental operation, not drilling.
With power still disconnected, check that the drill can approach and withdraw straight while your grip stays stable. Fit any required auxiliary handle correctly. Do not brace the housing against your body to resist binding. Once workholding, bit and grip are ready, fit a compatible battery, check that its latch is secure and keep your finger off the trigger.
5. Know when not to start or continue
Plan a slow start with the tip touching the mark and pressure in line with the bit. Release the trigger if the work moves, the bit binds or bends, your grip becomes insecure, or unusual noise, smell or heating develops. Wait for a complete stop and remove the battery before correcting the setup. Never catch moving work, clear chips or straighten a rotating bit.
Before starting, confirm five things: secure work, correctly clamped bit, clear mode and gear selection, safe exit path, and suitable protection and grip. One uncertain answer means pause.
This practice setup is for known scrap wood. It does not qualify work on unknown walls, ceilings, masonry or load-bearing connections. Hidden services, structural requirements and uncertain materials need their own assessment first.