
Choose by joint response, not matching control marks
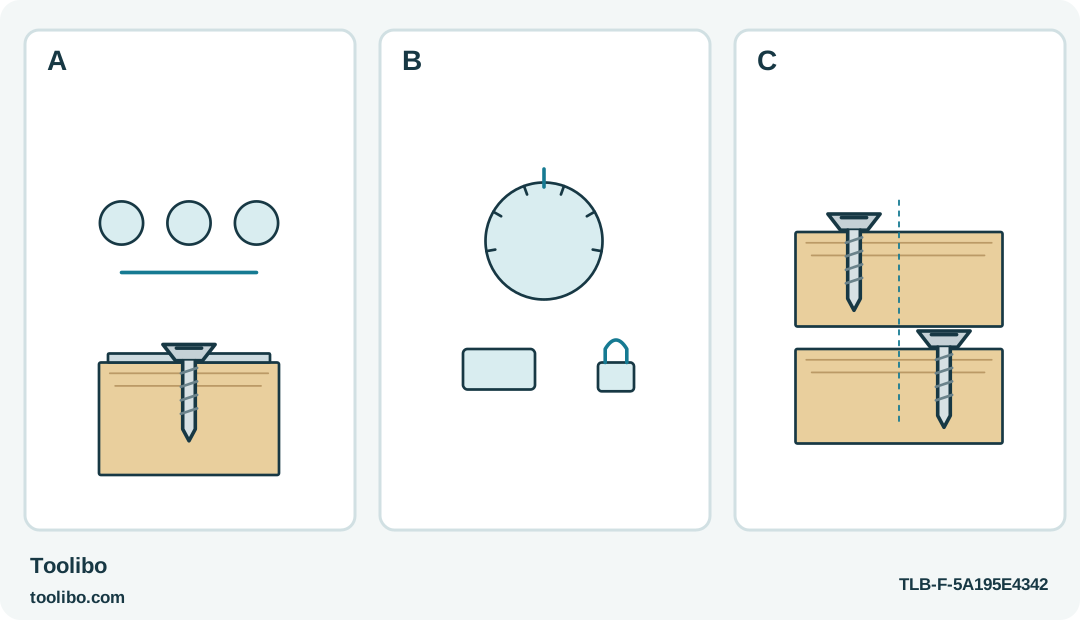
Three selection dots over a joint, a ring beside a separate gear symbol, and two material samples show why control marks cannot be converted.
A
WX240L’s three torque selections are not three speed gears.
B
DF012D uses a separate gear and numbered clutch; use gear 1 for the trial and isolate before setup.
C
A matching screw, material and fitting trial decides suitability; there is no button-to-ring conversion table.
Judge each control against a matching sample joint; dots on one tool and numbers on another do not form a torque conversion scale.
Begin with the joint you want to protect
A soft furniture surface can be damaged before a screw feels especially tight. A useful torque control gives you a way to approach the joint cautiously, but it cannot recognize a wrong screw or a badly aligned bracket. Before comparing controls, decide what the completed fastening should look like and which instructions govern it.
The US WORX WX240L offers three torque selections through a button. The Makita DF012D uses a numbered clutch ring together with two gears. Those different interfaces may suit different habits, but neither replaces a specified tightening procedure. Keep this comparison to accessible, ordinary household joints and matching test material, not calibrated or safety-critical fastening.
Understand what the button actually selects
The WX240L control changes the torque level. Treating it as a three-speed selector confuses the decision you are making. Begin with a low suitable selection for a small screw or soft material, then watch what happens at the joint rather than assuming the highest light is the most useful setting.
Three choices are easy to recognize and remember, but they are relatively broad choices. If the lowest useful setting still does not provide a controllable finish for a delicate fitting, do not force the project to suit the tool. Use the fastening method required by the furniture maker, which may include a correctly fitting hand screwdriver for the final stage.
Keep the clutch ring separate from the gear
On the DF012D, a numbered clutch position is not the same thing as the speed-change lever. Before changing this setup, switch off, set the lock lever to B and remove the battery. For the comparison trial here, use gear 1, the low-speed position, and begin with a low numbered clutch setting. Change gear only with the motor stopped and engage the lever fully. The drill-symbol position bypasses the clutch and is outside this procedure.
The tool’s automatic-stop behavior is not identical across every gear and setting. Staying in the defined low-speed trial avoids assuming that a high numbered setting in high gear will behave the same way. Remove the battery for accessory changes, and use the lock lever when the tool is not operating. Refit power only after setup is complete.
Make one useful sample, not a collection of guesses
Secure matching spare material and use the same screw, hole preparation and fitting contact as the actual job. A long screw in a soft offcut is not an equivalent trial for a short machine screw passing through a bracket. Protect your eyes and keep hands away from the bit and the screw’s possible exit.
Start the fastener as its instructions require. Drive cautiously and stop at the intended seat or the tool’s limiting action, whichever comes first. Inspect the surface, recess and fitting before changing anything. If the head remains proud, first rule out a wrong screw, obstruction or alignment problem. Only a sound, appropriate joint justifies trying a different setting on a fresh suitable sample.
Record the setup rather than one number
A note saying “setting 5” loses most of the useful information. Record the actual tool, gear where applicable, selected level, screw and test material. Include the visible endpoint: for example, the head seated evenly on the specified bracket without crushing the surrounding finish. A photograph of a successful sample can help distinguish that result from a later damaged hole.
The clutch-ring design offers more positions to explore, while the button design offers a shorter selection process. That does not make a ring setting transferable to the button, or even to a different material on the same tool. Do not invent a conversion table between the two controls or interpret their labels as torque-wrench readings.
Choose the interface you can use deliberately
If you mostly assemble similar, uncomplicated fittings, a few clear selections may be enough. If your work repeatedly benefits from smaller trial adjustments and you are willing to keep gear and clutch choices separate, a numbered ring can be useful. Both choices still depend on access, bit retention, grip and the ability to stop promptly.
Reject any trial that damages the recess, strips the hole, splits the material or distorts the fitting. Continuing at a lower setting afterwards does not repair that sample. Choose a fresh test or change the method. The purpose of the control is to make a careful fastening easier, not to justify using power on a joint whose behavior you cannot explain.
Models referenced